Blog – Cards Masonry Full Screen

Effective DIY Remedies To Remove Skin Tags

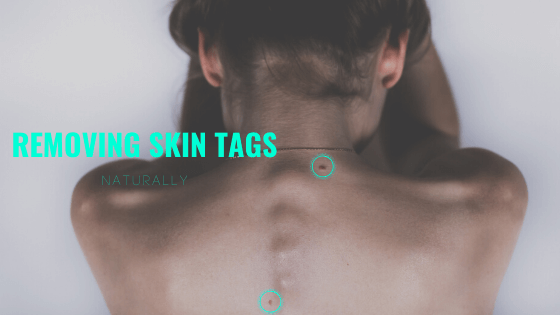
Skin tags (aka acrochordon) refer to non-cancerous tumors that mostly occur in areas around the neck and underarm regions. Some scientists believe that hormonal imbalance is a possible cause of skin tags. Whatever the reason behind them, you will realize they are harmless and won’t cause you pain. What will annoy you most is that they are very unsightly, and as such, they can lower your self-esteem. Thankfully, removing skin tags without a visit to a specialist is possible as there are many home remedies that exist.

If you are looking for ways on how to get rid of skin tags at home, then keep reading this post to the end. Here we are going to discuss some of the most effective and yet proven ways to alleviate skin tags at home.

Contents

Home Remedies for Skin Tag Removal

1. Lemon Juice

Lemon juice has been in use for long as a natural remedy for skin tags, and its effectiveness is undeniable.

How To Use Lemon Juice To Remove Skin Tags

– Simply clean the affected regions

– Take a lemon and then cut it into two pieces.

– Grab a cotton pad and squeeze some lemon juice directly into it.

– Apply to the affected regions

– Leave it to dry and don’t wash

– Repeat this process 2 to 3 times daily until you get results.

The citric acid found in lemon juice will work on the dead cells and thus help to dry out these skin outgrowths.

2. Aloe Vera Juice

Regardless of where you come from, you’ve probably heard of Aloe Vera before. Most of us have used it not once or twice for wound healing purposes, but did you know that the same can help with skin tags?

How To Use Aloe Vera To Remove Skin Tags

– Clean the regions affected

– Extract some Aloe Vera juice

– Apply the juice to the affected areas and massage for some minutes

– Repeat this procedure at least two to three times per day until you get the desired results.

3. Garlic

If garlic is readily available in your home, then you can use it as a remedy for skin tags. It contains some sulfur compounds which help to dry out skin outgrowths when applied properly.

Using Garlic For Removing Skin Tags

– Grab a peeled of garlic clove and cut it into pieces

– Place one piece into the affected areas and hold it into position using a bandage (A medical tape can be used in place of a bandage).

– Leave it in that position overnight

– Repeat the process every night until you get the desired results.

The skin tag should fall off after 2-3 nights.

4. Pineapple Juice

Are you the type of person who salivates whenever you hear someone mention “pineapple juice?” Well, then you must be having several cans of this stuff in your home. But did you know the same can be used to remove skin tags that would otherwise harm your look? Here is how to make it possible.

Using Pineapple For Removing Skin Tags

– Make sure you have 100% pineapple juice

– Apply a sufficient amount in areas whereas skin outgrowths have occurred

– Repeat the process a few times daily for one week

The skin tags should vanish after this period. Since you will be applying a few times daily, there is no need to apply a medical tape or bandage.

5. Fig Stem Juice

The juice has been in use for a while as a remedy for various skin disorders, including skin tags. You can extract fig stem juice at home and use the same a remedy for skin outgrowths, otherwise known as skin tags.

Using Fig Stem Juice For Removing Skin Tags

– Find fresh fig stems and extract the juice

– Apply to the skin tags three to four times daily

– You should see results after 3 to 4 weeks

6. Dandelion Stem Juice

Dandelion Stem Juice is one of the most readily available home remedies for skin tags. It’s easy to find dandelions almost everywhere, and hence the idea of using them to remove excessive growth of collagen sounds great. But how is that possible?

Using Dandelion Stem Juice For Removing Skin Tags

– Grab enough dandelions and squeeze them to obtain the milky liquid

– Apply the liquid obtained in the step above and apply a sufficient amount on the skin tags.

– Repeat at most 3-4 times daily

– Apply a medical tape or bandage

If done correctly, the dandelion liquid will cause the skin tag to fall off shortly.

7. Banana Peels

You want a permanent solution that will get rid of skin tags once and for all, right? Look no more. Banana is readily available everywhere in the world, and I’m pretty you love eating them. After all, they are good for your health in several ways. But did you know the banana peels you usually throw away are as equally import? Here is how they can help to remove non-cancerous skin outgrowths.

Using Banana Peels For Removing Skin Tags

– As usual start by clean the skin tags

– Grab a banana and peel it off

– Cut a piece of the peel and apply the inner side to the skin tags

– Cover with a bandage

– Do this every other night until you achieve results

8. Nail Polish

Are you the type of person using nail polish just for aesthetic purposes? Then you will be surprised to discover that the same can be used for skin tags issues.
You can read our article about removing skin tags with nail polish here

Using Nail Polish For Removing Skin Tags

– Grab your nail polish and dab few drops to the skin tags

– Do this daily, and you should notice results within a few days.

Conclusion

Removing skin tags at home isn’t complicated. However, if you think your case is different, then you are advised to consult a licensed medical specialist for help.


Natural Remedies For Removing Skin Tags

Skin tags can be a real nuisance. Not only do they look unsightly but they can also pull on your clothing and begin to bleed – causing nothing but an inconvenience.
There are many ways in which you can treat a skin tag. Many are medical and involve invasive treatments. However, many natural remedies can effectively treat and aid the removal of those pesky skin tags and have your skin looking at its best once again.

In this article, we are going to be looking at some of the best ways to treat your skin tags naturally.

Contents

What Is A Skin Tag?

Before we begin looking at ways in which you can treat a skin tag, we must be clear on what we are treating. A skin tag (AKA acrochordon) is a small, benign growth that most frequently occurs in areas such as the groin, the breasts, eyelids, arms and along the neck. They are not usually painful, unless they become irritated by your clothing, in which case they can begin to bleed and cause minor discomfort.

Natural Remedies For Skin Tags

You might choose to go to your doctor to have a skin tag removed. However, in many instances, doctors will not agree to remove skin tags for various of reasons. Most commonly, skin tags near the eyes will be left alone by medical professionals as the risk of damage to the delicate eye area is too great compared to the benefits of removal. In these instances, doctors will only remove skin tags if it impairs your vision or cause pain. So, with that in mind, let’s consider what you could do at home to rid yourself of skin tags.

Tea Tree Oil

Tea tree is something of a natural remedy wonder treatment in many areas of health. This marvel can have a great effect for removing skin tags. The oil has very potent antifungal properties as well as being anti-inflammatory and anti-bacterial. For this treatment, you should continue with the method for a few days, up to a week for maximum effect. Let’s take a look at how you can achieve good results.

  • Make sure that the affected area is clean and dry before you begin applying oil.
  • Use a cotton swab to apply the oil, massaging it gently onto the skin tag and the immediate area around it.
  • You should cover the area with a bandage and leave it to work for a few hours, preferably overnight.
  • Ensure that you wash the oil away completely once the treatment is finished.

With repeated applications, the tea tree oil should eventually cause the skin tag to dry out and fall off.

Apple Cider Vinegar

Vinegar isn’t just great for cooking, it has many health uses and skin tag removal is one of them. This type of vinegar can attack the tissue around the skin tag and this will make it drop off. You can use this method in a similar way to tea tree oil. Here’s what you should do.

  • Take a cotton swab and soak it in your vinegar.
  • Gently dab the apple cider vinegar onto the skin tag and surrounding area.
  • Cover the area with a bandage and wait for approximately half an hour.
  • You should now thoroughly wash the skin to remove all of the vinegar.

It is important to repeat this process daily until you get the required results.

Garlic

Whilst it doesn’t smell great as a skincare product, garlic has brilliant properties for treating and even removing skin tags. Along with this, the nature of garlic is one that reduces inflammation and makes your skin look younger and fresher. To use this product as a skin tag remedy, you should take the following steps:

  • Crush the garlic so that it becomes like a paste.
  • Apply this paste to the skin tag and immediate surrounding area.
  • Cover the area with a bandage and leave until the morning.
  • In the morning, remove the bandage and wash the area to get rid of any garlic residue (and the smell!)

This method, much like the ones we have already discussed, should be repeated over several days until the skin tag becomes dry and falls off.

Banana Peel

Instead of throwing out your banana peel, why not use it to get rid of your skin tags? Banana peel is exceptionally good at drying out and removing skin tags. You can use it before bed each night by following these simple steps.

  • Take a small piece of banana peel which is slightly larger than the skin tag
  • Press it firmly over the skin tag and secure it in place using a bandage or sticking plaster
  • Leave overnight and wash the area the next morning

Vitamin E

Vitamin E is amazing for a multitude of things. Removing skin tags is, fortunately, one of them. One of the key factors in why people get skin tags is aging. The skin ages in a variety of ways and if you have noticed that skin tags are one of these ways for you, then using a vitamin E liquid can make a difference.

  • Use a good quality vitamin E liquid to massage onto the affected area.
  • Repeat this process daily for the best results.
  • The antioxidant properties of the vitamin E liquid will shrink the growth and eventually cause it to drop off.

This method can be continued once the skin tag has disappeared by way of a moisturizer which is rich in vitamin E. These can be purchased easily from supermarkets and drug stores and can help in preventing any future problems.

Conclusion

A skin tag might be a pain but there are many ways in which they can be naturally removed. These methods can be easily done at home and often can be done with items you already have around the house.

If you have been looking for a skin tag removal method that is natural, cost-effective and reliable, these methods might just be for you!


Also see our article on Effective DIY Remedies To Remove Skin Tags

Arm Hair Removal

It is usual to have unwanted arm hair or armpit hair, but sometimes it is so thick and dark that it makes you feel uncomfortable and perhaps even hide your hairy arms with long sleeves so nobody will notice it.

Unless you are a man with thick hair in your arms, we strongly recommend that you don’t shave that area because it can cause the hair to grow coarser and darker, and you have the risk of suffering cuts and irritation.

Contents

Arm Hair Removal Methods

Epilation

This method uses an epilator, which is an electronic device that pulls the hair from the root. It looks like a razor and works like waxing, with the difference that it has a mechanical system that plucks the hair.

To remove arm hair, position the epilator at a 90-degree angle to your arm and slowly move the device in the hair growth direction.

Epilators have different speed settings. Start with the lowest one if you are a beginner, and increase the speed until you reach one you can tolerate.

Always clean the epilator after each use.

Pros

  • It provides long-lasting results on your arms.
  • You can do it at home.
  • The hair will take a long time to grow back.
  • It can remove even the shortest hair.
  • Suitable for sensitive skin.
  • It leaves the skin smooth..

Cons

  • Since the hair is pulled from the root, you will feel pain and discomfort.
  • You may experience redness and irritation after the treatment.

Depilatory Cream

This method is painless. It involves using a depilatory cream or hair removal cream that contains effective chemicals that break the bonds of keratin to weaken the hair on your arms and make it easier to remove.

Apply the cream over the area of undesired hair, wait a few minutes, and rinse with water. These creams contain ingredients that keep your skin smooth after hair removal.

Also, see our articles on Nair and Veet Depilatory creams.

Pros

  • It is painless.
  • You can do it at home.
  • Suitable for sensitive skin.
  • Your skin will be smooth after using it.

Cons

  • You can develop an allergic reaction.
  • The hair is not pulled from the root, so that it will regrow fast.
  • You can experience side effects like redness and irritation.
  • Never leave the cream on for longer than indicated in the instructions. Otherwise, you can suffer a skin burn.

Sugaring

This ancient hair removal method consists of applying a sticky paste made of sugar, lemon, and water over the area of undesired hair. It is similar to waxing but more gentle since it doesn’t stick to the skin cells.

Sugaring can be performed at home, but you need some experience and knowledge to get the mixture’s right consistency. Otherwise, it could end in a disaster.

It is better to go to a registered place with estheticians who know how to apply the mixture.

Pros

  • The procedure is faster than waxing.
  • It is gentle on the skin, and since the mixture is hypoallergenic and organic, there is no risk of allergic reactions.

Cons

  • Your hair needs at least a quarter-inch in length to get this procedure.
  • Although it isn’t as painful as waxing, you will still feel discomfort.

Waxing

You can either use cold wax strips or hot wax to remove hair from your arms. If you are thinking about doing it at home, use cold wax since it is less messy, and you have less chance of suffering side effects like skin burns, but hot wax is more effective in removing hair.

Hot wax involves applying warm wax over undesired hair areas and pulling it with a paper strip. It is better to get it done by a professional.

Pros

  • It can remove short and fine hair.
  • The hair will take longer to regrow.
  • Once the hair grows again, it will be finer.
  • It doesn’t only remove hair but also dead skin cells.

Cons

  • You will experience pain.
  • There is a risk of side effects like kitchens, redness, and irritation.
  • If the wax is too hot, it can burn your skin, so you must go to a suitable place.
  • This procedure isn’t fast.
  • You have to avoid direct sun exposure after waxing.

IPL Hair Removal Or Laser Hair Removal

This is a permanent arm hair removal method. The IPL system uses energy from light waves and targets the melanin in our hair.

Once the energy hits the dark pigment, it is converted into heat, damaging the hair and preventing regrowth. There are several IPL devices that you can buy to use at home.

However, you may prefer to go to a beautician because the IPL needs to be adjusted depending on your hair color and thickness. Going to a professional ensures that you will have the desired results.

IPL Hair Removal is generally cheaper than Laser Hair Removal, especially when having it done at a beauty salon. IPL is also better for larger body hair areas, whereas Laser Hair Removal can be better for smaller local areas such as underarm hair. Laser arm hair removal is a successful method for many women.

Pros

  • Once you finish the treatment, you won’t need to worry about getting rid of your body hair anymore.
  • The process isn’t painful and won’t damage your skin.

Cons

  • It is expensive.
  • You will require multiple sessions before the hair stops growing.
  • It doesn’t work for light hair.

Electrolysis

This is another permanent arm hair removal method and is also known as electrology. A fine needle is inserted into the hair follicle and uses heat energy to destroy the hair root to prevent regrowth.

To get this treatment done, you are advised to go to a professional.

However, there are some new devices that allow you to do electrolysis at home.

Pros

  • It is permanent, and you won’t need maintenance sessions.
  • Suitable for all skin types and hair colors.

Cons

  • It can be expensive.
  • You will need a lot of sessions to finish the treatment.

Final Thoughts

It is time to show off your arms with pride and eliminate that undesired hair with these easy and effective methods. Just choose a permanent or temporary arm hair removal method.

Remember to consider your skin type and pain level tolerance to find the best treatment to provide you with the best results.

How To Remove Ear Hair

Everyone has ear hair, only that we don’t get to see it in some people. Ear hair usually acts as a protective barrier, preventing debris from reaching the sensitive ear canal. However, it can sometimes grow extensively due to aging and hormonal changes. Having protruding ear hair can cause you embarrassment and regain your confidence, you might want to consider various hair removal techniques.

So, what are some of the methods which you can apply to remove ear hair?

Contents

1. Tweezing

Sometimes it’s just a few hair stragglers that are bothering you in your ears. In this case, tweezing can be an effective method to remove ear hair. This technique provides an easier way of pulling out those few hairs. However, you need to use a high-quality pair of tweezers. The tweezers should be blunt at the head to minimize the chances of injuries.

When using tweezers, simply place them on the outside area of your ears. Avoid inserting them in your ears since you risk damaging the sensitive eardrums. Tweezing usually hurts because it involves plucking protruding hairs with force.

Pain Level: 9/10

May cause some tears to form around your eyes!

2. Shaving and Trimming

Shaving and trimming are one of the most used methods of ear hair removal. Shaving and trimming ear hairs are effortless, and anyone can do them. The technique is also very cheap, and that’s why a lot of people prefer it.

While you can easily use a razor blade to shave the protruding outer ear, part of the inner ear canal will remain with hair. In addition to that, you could easily cut yourself while using a razor. So, trimmers are recommended instead. They facilitate the same removal of hair right from the top part of the canal.

The best thing about using trimmers is that they are efficient and significantly reduce the risk of injuries. It doesn’t matter whether you have a few protruding hairs or a bush of hair coming from your ear. This device can effectively handle it.

Pain Level: 4/10

As long as you don’t have any accidents, you are unlikely to have much if any pain.

3. Waxing

If you want to remove ear hair that’s on the outer ear section, then waxing is a good alternative. This is a long-lasting solution that removes the hair follicles from the root, thereby inhibiting hair growth for weeks. Although you might sometimes need a professional to do it for you, you can also DIY.

To do waxing, get a good earplug to close your canal. Using a heated wax strip, apply it on your outer ear flap with a stick. Note that wax strips offer you safety; hence you don’t have to worry about the wax dripping deep into your ear canal.

Pain Level: 9/10

If you are a man, then this is likely to cause you more pain than you have ever had before. You are allowed to cry. Advise against watching any YouTube videos about it, or you won’t do it.

4. Depilatories

It seems when it comes to hair removal, depilatories (AKA epilation or depilation) are going to make an appearance. But are they suitable for ear hair removal? Well, this only works if the hairs are found on the outer section of the ear.

Depilatories provide an efficient and pain-free way of removing outer hairs. You just need to apply a little amount of the cream, wait for a couple of minutes, and then wash it off. The result will be clean and hairless ear flaps.

Caution! Do not put a depilatory inside your ear canal. You might end up exposing your eardrum and internal skin to chemical burns. When applying the cream to the outer section of the ear, make sure that you use a good earplug. Lastly, be careful when you are using depilatories. Do a test patch first on another less sensitive area of the body before applying it to your ear.

Also, see our articles on Nair and Veet Depilatory Creams.

Pain Level: 6/10

Unless you misplace the cream, you shouldn’t have any pain at all. One wrong turn, though, and all could go to pot.

5. Sugaring

If you can’t try the techniques mentioned above, there is still a home-based alternative that you can apply. Sugaring works in the same way as waxing, but it’s less painful. What makes it painless is that it doesn’t stick so much to the skin. Mix a little amount of sugar with water and then apply it with a cotton swab to the outer section of the ear. Wait for a few minutes before washing it off.

While this technique seems ideal for those with sensitive skin, users are also at a high risk of developing severe ear infections.

Pain Level: 8/10

Not as bad as waxing, but you still may cry!

6. Laser Treatment

Sometimes you just want to get done protruding hair from your ears once and for all. You can permanently remove them by using laser treatments. The process that is usually done by a professional typically involves the use of pulsed lights as well as other treatments that cause damage to the hair follicles. As a result, the hair will stop growing permanently. In case the hair still grows back, it will only be very light and thin.

However, this is a costly method of removing hair from the ears. Even though the FDA has approved it as a permanent way of reducing hair, not everyone can do it. Factors such as your skin color and hair type play a crucial role in determining if you are the right candidate.

Pain Level: 3/10

Little to no pain.

Factors to Consider When Removing Hair from Your Ears

If you are ready to remove ear hair from your ears, then here’s what you should know:

Hair Type

Know the type of ear hair you want to remove. Is it the outer or inner ear hair? If you are dealing with inner ear hair, you have to be very careful to avoid damaging your eardrums.

Methods And Equipment Required

Most of these techniques are very simple to implement, as long as you follow the right instructions. Apart from the laser treatment, the other methods involve the use of readily available equipment.

Discomfort

Level of discomfort: with laser treatment, pain is not usually a big deal because it involves the killing of hair follicles at once. On the other hand, waxing, trimming, and sugaring can cause some level of discomfort or pain, depending on the amount of hair you are removing and how frequently you do it.

Conclusion

Developing ear hair is something that we experience as we grow up and age. The fact that there are techniques and equipment for ear hair removal means that this is a common issue with which a lot of people deal. Depending on your needs and the severity of the hair growth, you can use one of the techniques mentioned above. Just make sure that in all cases, you protect your ear canal. If you are not sure of doing it yourself, then seek the services of a professional.

Tattoo Removal Methods And Their Effects

Even knowing that a tattoo is a life long commitment, some still sit in that chair for all the wrong reasons. More ethical artists refuse to work on anyone who is not sober, or at least they try to persuade clients not to etch their current partner’s name on their skin. And this is not taking into consideration all the bad art that’s floating as well.
Up until recently, the best option to get rid of a bad tattoo was to cover it up with another one. There are even numerous artists that specialize in creating designs that can hide bad work as an alternative to tattoo removal.

Laser tattoo removal has been available for decades, but more often than not, the skin would still be marked to some extent.

Luckily, technology is always advancing, and now we can expect better results. And not only that, there are more methods and products available now that can get the job done. We will take a look at those methods and their short and long term effect on the skin.

Contents

Laser Treatments

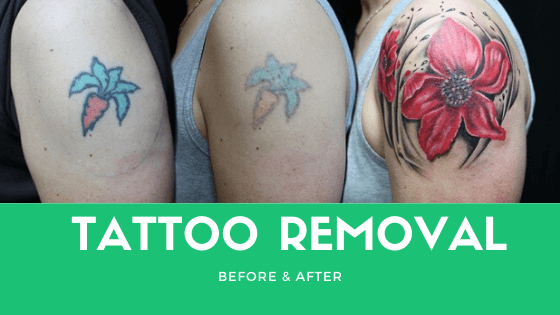
Since the introduction of Q-lasers in the 1990s, laser treatments have become the most reliable method for tattoo removal. Lasers target the ink particles in the skin and cause them to fragment into smaller particles that can be cleared away by the body’s immune system.

Procedure

The procedure is least invasive in comparison to others but is still quite painful. In the case of large and elaborate designs, it could take over 10 sessions to completely remove the tattoo. However, based on the type of ink and the age of the design, there is still a chance that some pigment will remain.

This procedure will leave a wound that will need to be cared for to prevent infection or additional damage.

After The Procedure

It will take up to a week for the wound to heal after each session, and before you can have the treatment again.

After the course is completed, the skin will be more sensitive for a while. You should keep it clean and protect it for the sun. Even without visible changes, it would not be a bad idea to schedule an appointment with a dermatologist two or three months down the line. However, if everything was done properly, there should not be any scarring or long term irritation.

If you plan to get a new tattoo in the recent future, laser removal is the only gentle enough option. Some clients would have one or two sessions to lighten their old design, so they have more freedom with their cover-ups. In this case, you still need to leave ample time between the last laser treatment and a new tattoo. The wound may heal within a week, but your skin will not be ready for new work for months.

Dermabrasion

In the plainest of terms, the dermabrasion method could be described as scrubbing the tattoo away.

Procedure

This procedure is very painful and will have to be done under either local or general anesthesia. A medical grinding tool removes the outer layers of the skin in a controlled manner. The tattoo is removed by removing the layers of skin that contain ink.

Dermabrasion will also take multiple sessions to show results. But, it might not be suitable for anyone with sensitive skin or dermatitis.

After The Procedure

Just like in the case of laser removal, there will be a wound left that needs to stay clean and protected. However, dermabrasion wounds will take around two weeks to heal between sessions.

After the course is completed, the skin will be very sensitive. It will have to be protected from the sun and harsh chemicals for a long time. There is a chance of discoloration, but it should not be permanent. However, there should not be any permanent scarring.

Avoid any new tattoos in the area for at least a year. Even then, talk with the professional first. If done too quickly, there is a high risk of injury and infection.

Chemical Peels

Dermabrasion and chemical peels are identical in their premise – layers of skin with ink are removed, therefore the tattoo is removed. The main difference is the tool used.

Procedure

During chemical peel treatments, trichloroacetic acid (TCA) is used to remove top layers of the skin. TCA is a mild acid but is still not suitable for amateur use. Make sure that you are getting this treatment from a tattoo removal licensed esthetician, a dermatologist or a cosmetic surgeon. There are some instructions on the internet of how to DIY this treatment, but it would be better not to try it.

After The Procedure

TCA treatment wounds heal within a week. If they are kept wrapped and clean, there should be no infection or scarring.

Though the wounds heal faster than the ones from dermabrasion, all other warnings apply. Skin will be very vulnerable for a long time and you will have to be diligent with sun protection. Any acne-fighting skincare products should also be avoided because they will irritate the area.

Tattoo Removal Creams

Here is something that has some popularity on the internet, but not many artists or dermatologist would readily recommend.

In short, tattoo removal creams are supposed to work like chemical peels. So, if a cream works, it contains a lot of harsh chemicals. Not the best idea for use at home.

If you want to try one out, make sure to do it under the surveillance of a dermatologist. Otherwise, you could damage your skin.

Surgical Removal

This is the cutting off of the tattoo. The skin containing the design is removed, and the remaining skin is stitched together.

It is only suitable for smaller designs. The main benefit of the method is that everything is completed within one appointment.

As it is a surgical procedure, it will likely require full anesthesia.

After The Procedure

There will be scarring. The size and the shape of the scar depend on the design that should be removed. It can be minimized with small stitches or skin glue, or laser treatments after.

You will probably have to wear bandages 48 hours after the surgery, and it might take between 6 to 8 weeks or the wound to heal. During that time you will have to avoid any heavy physical activity, harsh chemicals, and sun exposure.

If you are planning a new design, the skin will not be ready for years for it. Even then, the texture will affect the way skin holds onto the ink.

Tattoo Cover-up

Not a removal method, so we are going to give it just a quick mention. If you are considering this instead of removing the tattoo altogether, keep in mind two things.

First, then the new tattoo will have to be bigger and darker/brighter than the old one. And second, if you entrust this job to just anyone and not someone who knows what they’re doing, it could end in tears. Again.

If you are working with the right artist, you will end up with something that looks seriously beautiful.

Nair Hair Removal Review: What is Nair?

If you’re tired of shaving regularly, then you’ve probably looked at alternate options. One method that isn’t new to the market is depilatories. Depilatories are cream or lotions that remove unwanted hair without a razor. You can find Nair For Men and also Nair For Women.
One of the more well-known depilatories available today is Nair. Nair hair removal became popular in the 1990s, and the product is still available today. You can find it at most local shops and buy Nair online. The way that it works is fairly simple. You apply a layer to the skin wherever you have unwanted hair. It dissolves hair so that it can be wiped away easily.

Contents

What Is Nair?

Nair is a type of chemical depilatory. It primarily works by removing the hair shaft rather than the root of the hair that is located below the skin’s surface.

This product certainly isn’t new, though. Before this product was available, some people had used lye or calcium oxide. These other methods came with some risks, though. To get an idea of how well this product works and if it’s right for you, this review covers what the average person should know before using.

How Does Nair Work?

A chemical hair remover works by targeting the structure of the hair. The hair on your body is made up of protein compounds known as keratin. They are twisted into bundles like yarn and form a structure with chemical bonds. The chemicals target these bonds directly. The result is that the hair is dissolved.

Nair works in about 10 minutes or less. The makers recommend that you apply the cream or gel with a spatula in the areas where you have unwanted hair. Typically, it’s left in place for five minutes, and if the hair is still intact, then wait up to 10 minutes. You can then wipe away or wash away the hair.

Ingredients

Nair contains both active and inactive ingredients. Some ingredients are responsible for the actual hair removal, while the inactive ones may work to dilute or provide structure to the gel or lotion. The active compounds in Nair include the following:

  • Potassium or calcium salts or thioglycolic acid
  • A base of sodium hydroxide, calcium, or potassium

The base chemicals in Nair work on the hair shaft, causing it to open or swell. This allows the chemical salts to actually enter the hair follicle and break apart the chemical bonds that allow it to stay together. Nair attacks the sulfur bonds, which may cause an unpleasant smell. People who use Nair often notice that they notice an egg-like smell by using it.

Studies showed that it does not affect plant fibers. Cotton, rayon, and polyester all kept their structure when Nair was applied. This is likely because both synthetic and natural fibers don’t contain any sulfur bonds. The good news is that if you get Nair on your clothing, you won’t have any damage.

Nair may also contain the following ingredients:

  • Water
  • Fragrance
  • Calcium carbonate
  • Cetyl alcohol
  • Sodium lauryl sulfate
  • Sodium silicate

Where Can I Use Nair?

Although you should always read the back of the packaging, the most commonplace to use is on the legs. It can be easily used to cover larger areas in just several minutes. If you happen to have thick or coarser hair on your legs, then you may want to leave in on for 10 minutes. Also, consider Nair Leg Mask.

Nair Face Cream is a milder version for facial hair. This usually contains a tool to apply Nair in only the desired area. Since the hair on the face is more delicate, you should not use other types of Nair on your face as it may irritate. Nair Face Cream should also not be used to remove hair in your nose, eyebrows, or any areas around your eyes.

Nair can be usually used on pubic hair, but this is also a sensitive area. It’s a good idea to remove it by using a non-irritating cloth rather than a plastic spatula. It may also be worth speaking to your partner before going through the procedure, as they may prefer hair in the pubic area!

This is the same for men that want to use Nair on their balls/testicles.

You are advised NOT to use Nair on sensitive areas such as your nipples.

Additionally, Nair is often used on stubble but sometimes with limited results. Nair can only work on hair that’s grown above the skin. For stubble, that is short, or just at the skin’s surface, it may not be very effective.

How Often Do I Need to Use Nair?

Nair’s effectiveness may vary from person to person. It ultimately depends on how quickly your hair grows. In most cases, it will get rid of unwanted hair for a week up to a month. Since it removes the shaft and not the root, it is comparable to shaving, although you won’t be cutting hair with a razor. If you find that you shave once a week, you’ll probably find themselves using Nair once a week.

Potential Side Effects

Although Nair can usually be used safely, there are some possible side effects. This is why the makers of Nair recommend that you test a small area of skin before using it on a larger area. Side effects can include:

  • Allergic reactions
  • Chemical burns
  • Irritation
  • Blisters
  • Rash

Depending on your skin’s sensitivity, it may be a good idea to use the mild formula on your entire body. People who are allergic to perfumes have sometimes found that they are also allergic to Nair. It’s also recommended that you avoid using skin products immediately after using a depilatory. This may lead to irritation when using multiple products at a time.

Does Nair Work?

Some users swear by Nair hair removal. They like that it’s easy to use and also fast-acting. They also find that it works well for all skin and hair types. Unlike waxing or laser hair removal, Nair is an inexpensive option that is even easier than shaving.

Takeaway

Nair works to remove hair by functioning as a chemical depilatory. It’s both effective and economical for anyone who is looking for hair removal. Some people may find that they develop irritated skin, but this is fairly rare. When using Nair as directed, it works well for hair removal.

Also, see our article on Veet hair removal product

How to remove nose hair

Contents

The dark side of nose hair removal

Getting rid of your nose hairs may not actually be the best idea. Nose hairs serve a purpose for your health. They act as a natural defense mechanism in protecting the nostrils against debris and allergens. Nose hairs can greatly reduce the effects of allergies or hay fever.

Nose hairs also help to regulate the moisture content in the air we breathe. However, without maintenance, nose hair can grow excessively, and you might end up with long hair coming out of your nose! To avoid embarrassment, you may want to remove your nose hairs. This may be the case whether you are male or female.

But how do you go about this?

Methods Of Removing Nose Hair

Two effective methods can be used to remove nose hair:

Trimming Nose Hair

This is the most common method to remove nose hair. Trimming is simple and less painful. You only need electric nose hair trimmers or trimmer scissors. Note that when you are using trimming scissors, make sure that the room is well-lit and has a mirror. This helps to reduce the risks of internal cuts and causing bleeding.

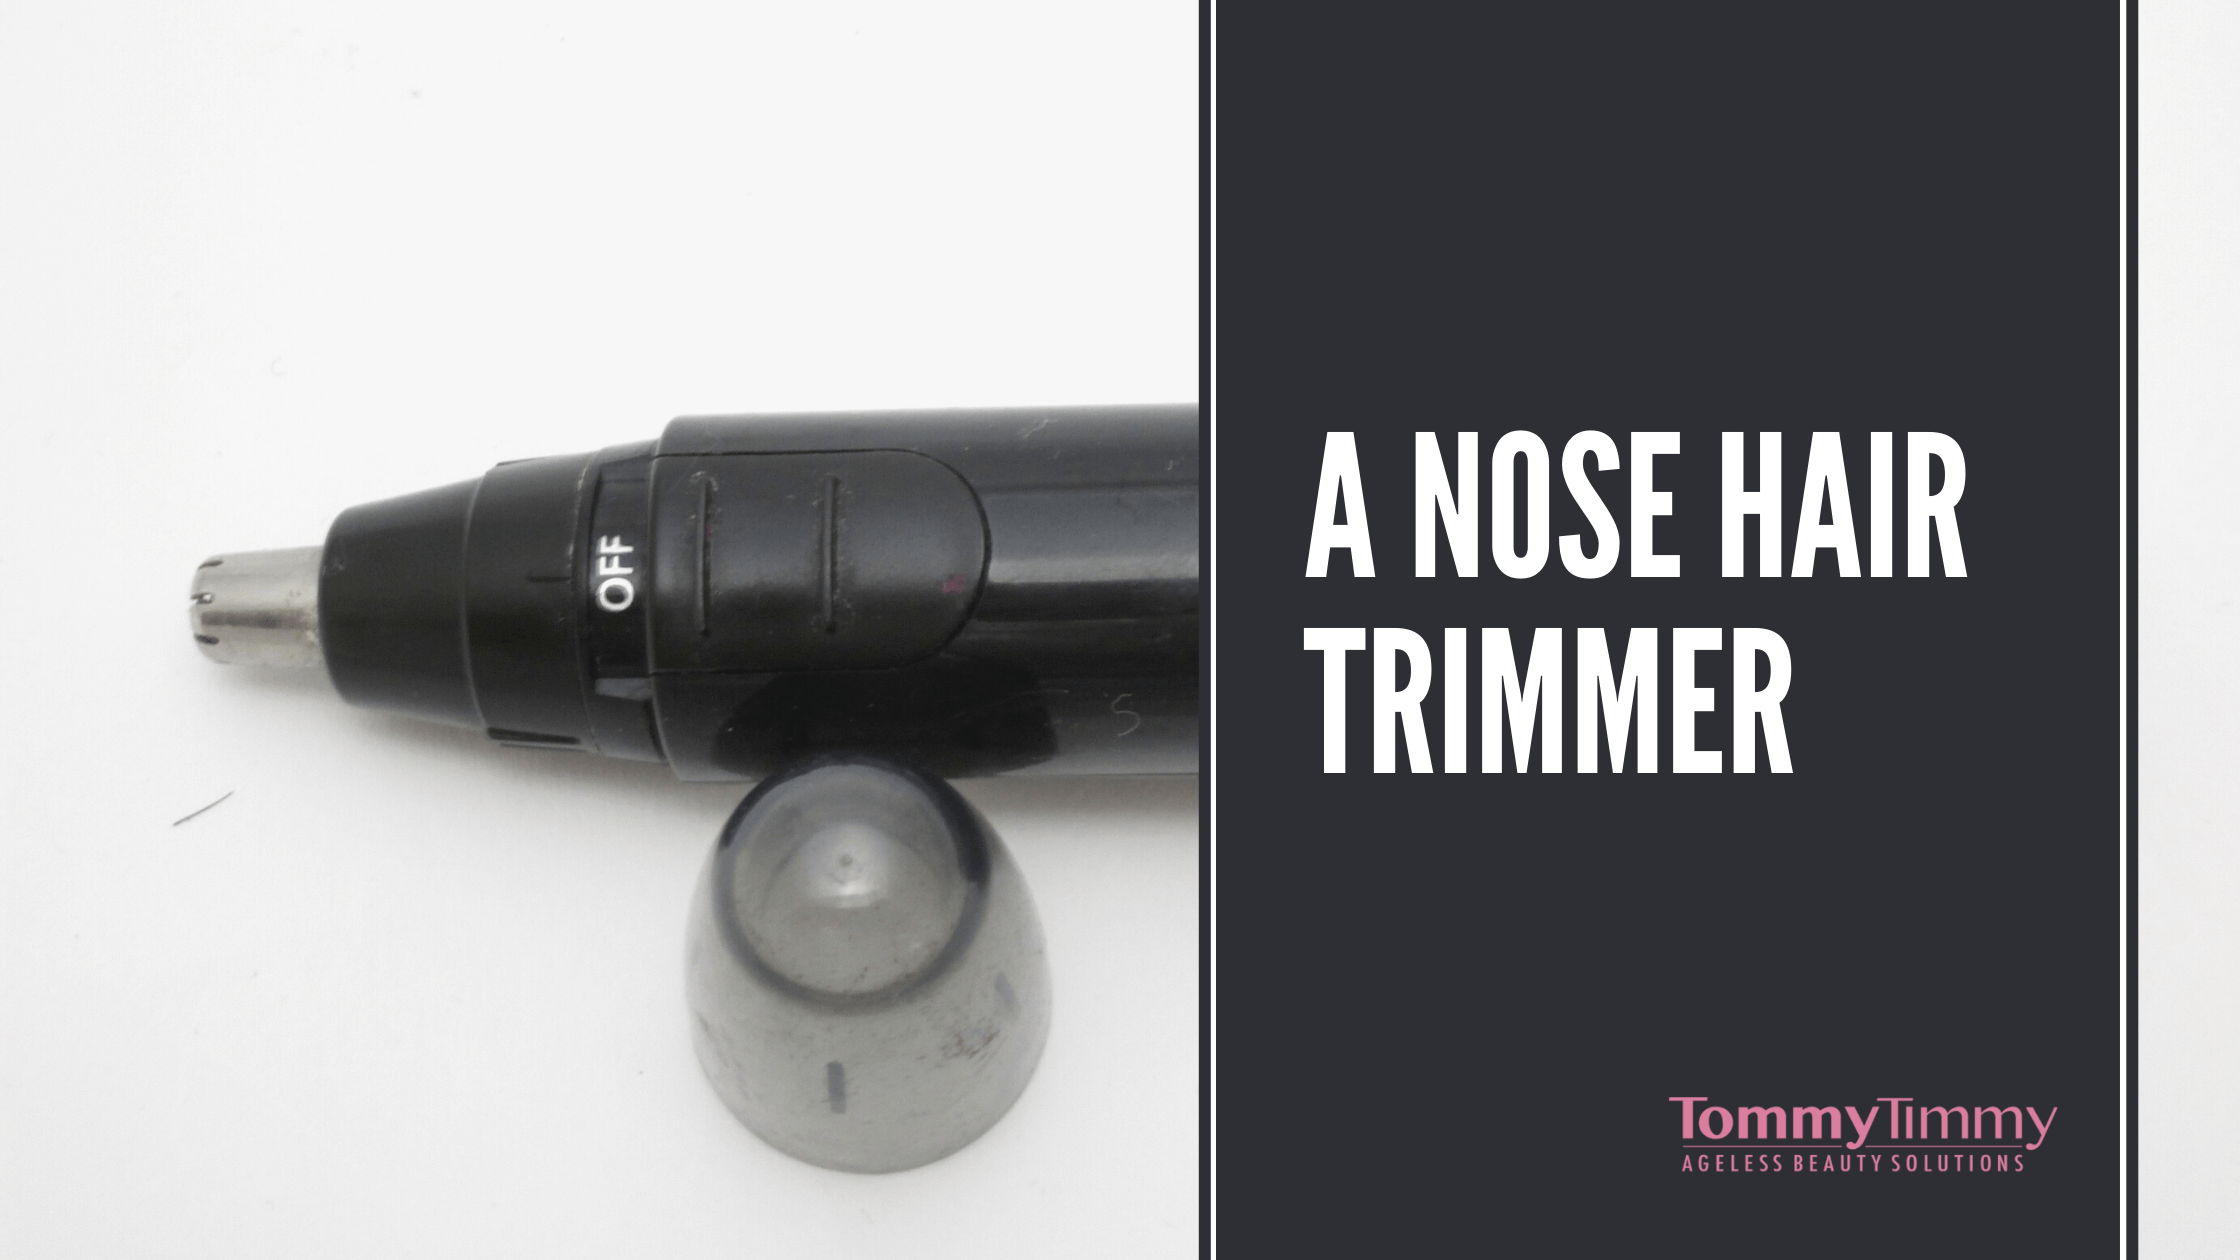
nose hair trimmer
You are advised to try a nose hair trimmer. If you buy the best nose hair trimmer that you can find on Amazon, then it will last for many years.
Also comes with protection against injuring your sensitive nostrils.

Electric nose trimmers normally fit the nostrils perfectly and have less risk of injuring the internal tissues. These devices have rotating blades on the end that cut nose hair. These blades are small, and they are protectively placed inside a guard. So, there will be no direct contact between them and the skin.

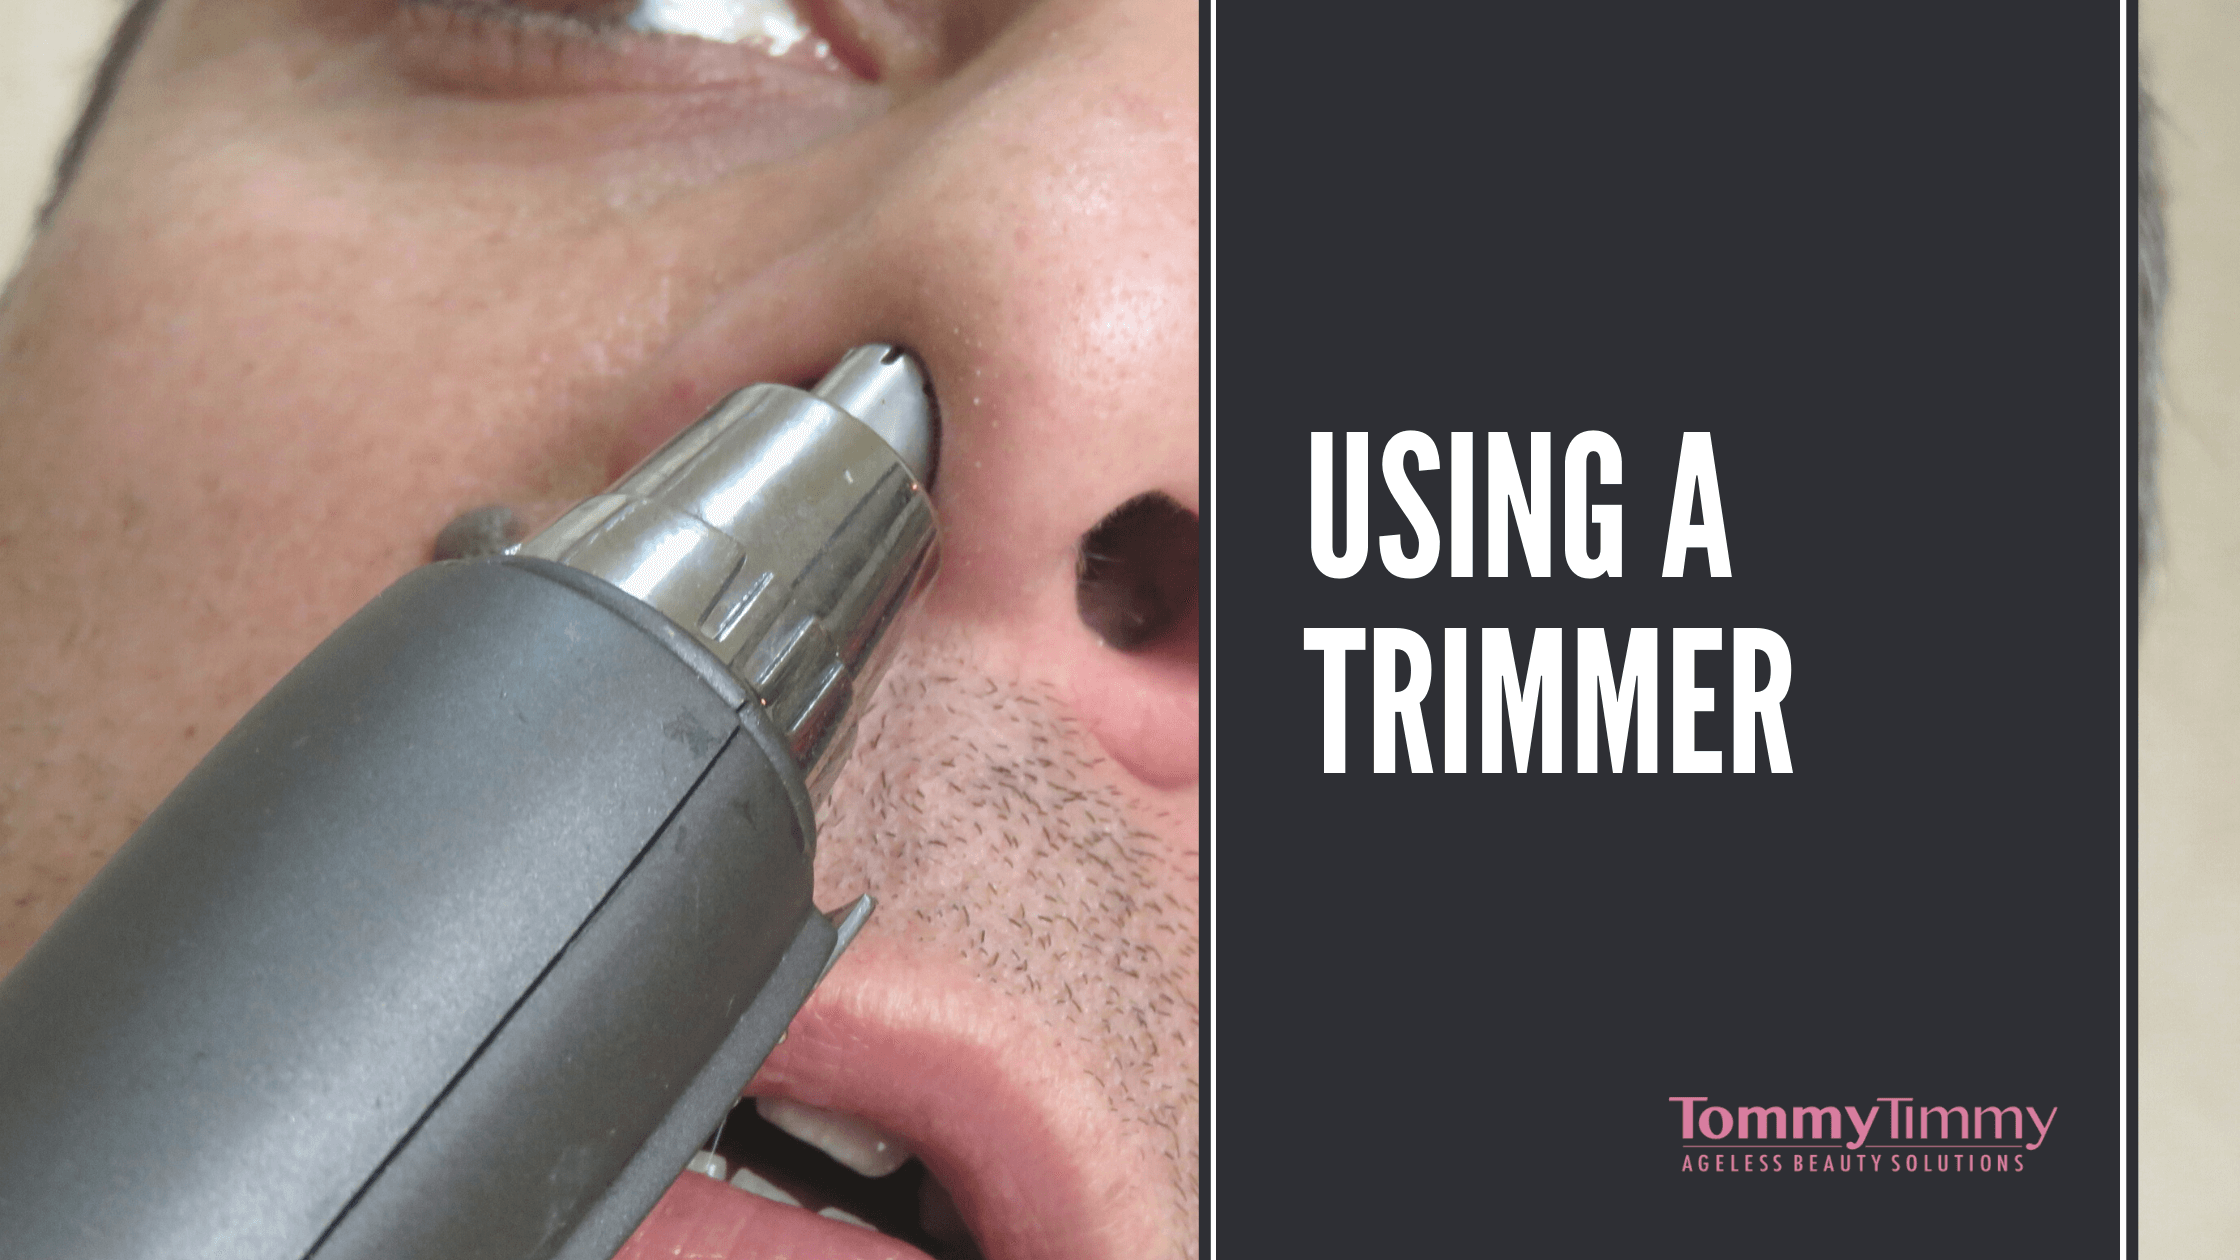
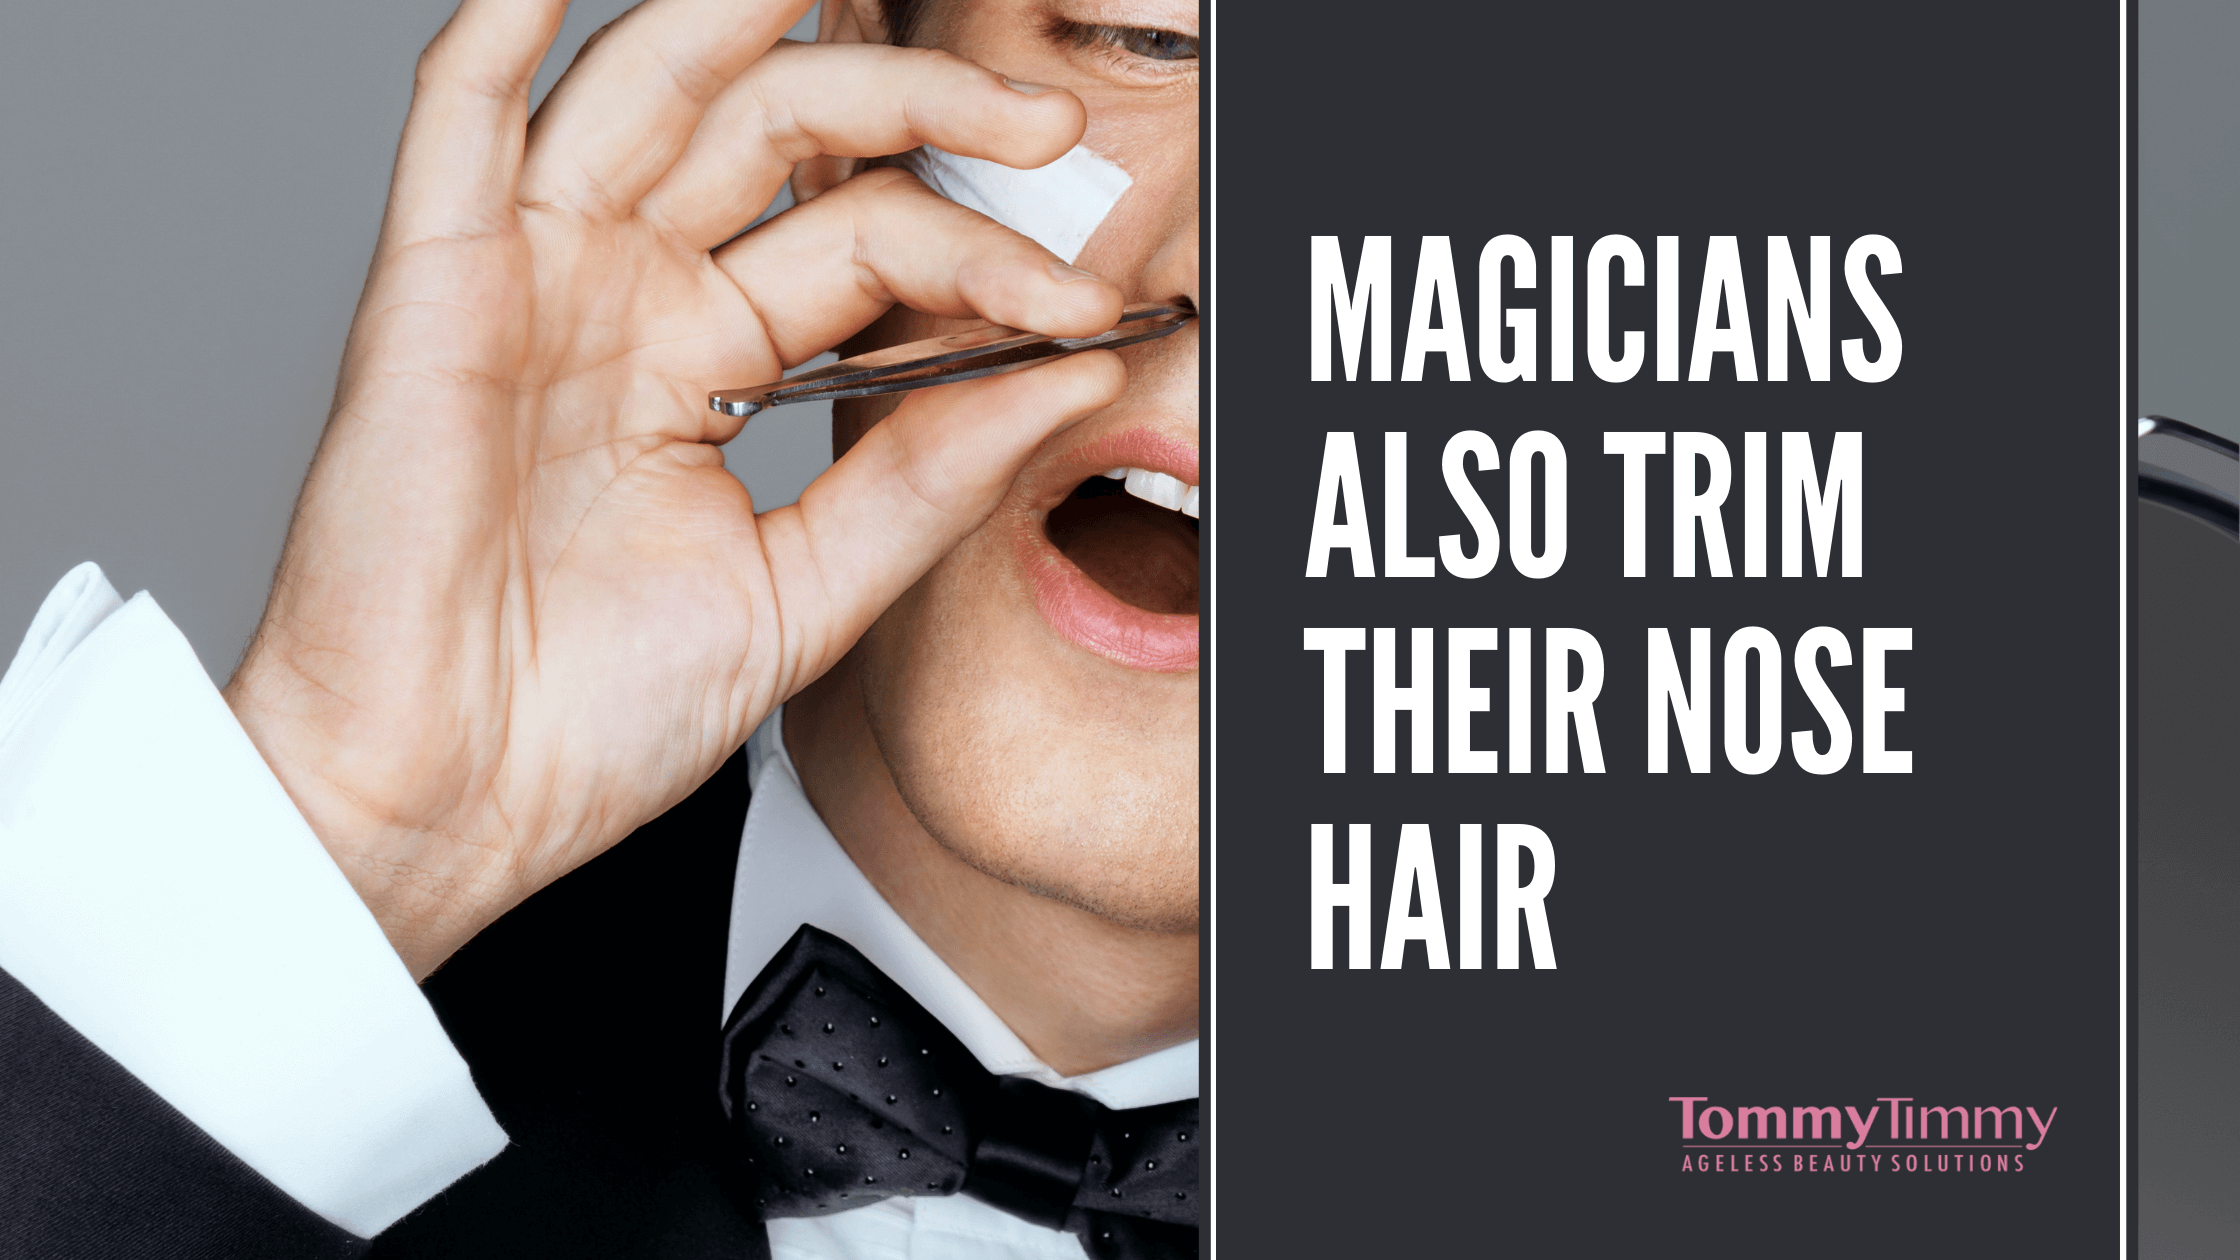
using a trimmer
It is probably best that you don’t use a nose trimmer in front of other people as it really doesn’t look so attractive.
And also don’t take any photos as evidence!

Trimming is the most recommended nose hair removal technique because of the way it works. It normally removes or shortens just 2 or 3 protruding nose hairs. So, this means that your nostrils will still have some hair that is needed to protect them.

This is not a permanent nose hair removal solution as the hair will eventually grow back.

Laser Nose Hair Removal

Laser hair removal is a safer and more effective treatment than trimming. A laser is normally used to remove nose hair permanently. The technique focuses on nostril hairs that are visible from the outside. They are those that are found right on the entrance to the nostrils.

By permanently removing them, your nose hair will not be visible from the outside. The technique heats up and destroys nose hair follicles from the root.

Cons of laser nose hair removal

This method doesn’t target all the nose hair. It only works on the edges of your nostrils. One side of the nostril is usually held up slightly while the laser is shot into the sides.

Number of laser treatments for nose hair removal

Before you consider this type of treatment, know that you need at least six laser sessions for this method to be effective. In addition to that, the treatment can only be done by a certified dermatologist or cosmetologist. Make sure that you consult extensively and enquire:

  • How to prepare for laser treatment for nose hair
  • Type of treatments required before and after laser hair treatment
  • The total number of laser sessions you need and the cost

Possible Side Effects of Laser Hair Removal

While this seems to be an effective permanent solution to remove nose hairs, there are several things that you need to consider before seeking treatment. Your nostrils are still at a high risk of ending up with injured mucous membranes. In addition to that, this is an expensive treatment option.

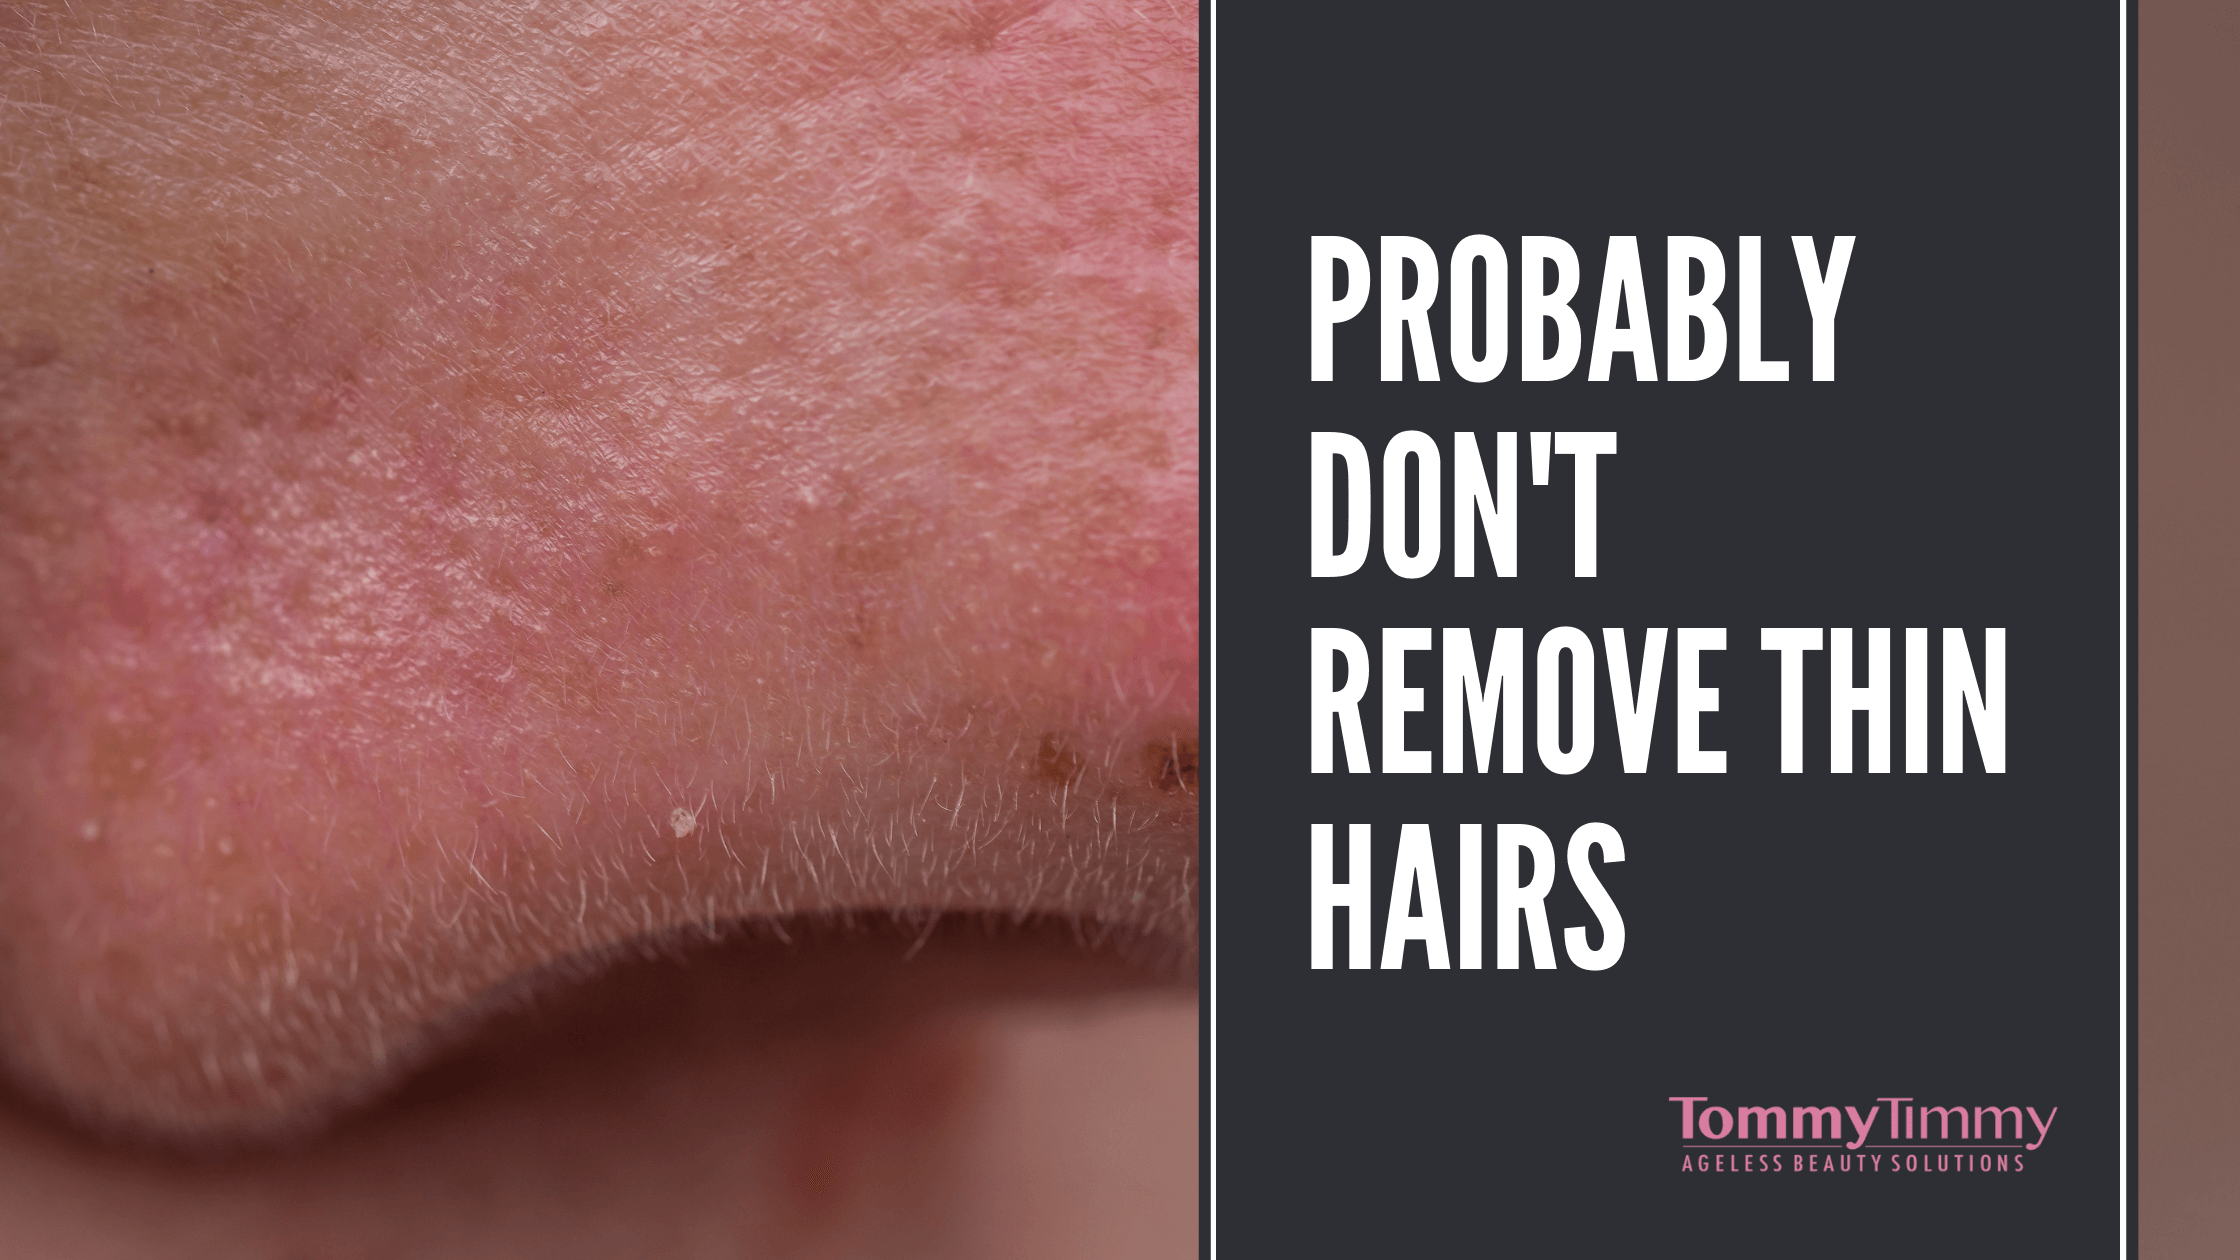
thin nose hairs
When cutting nose hairs, also remember that they do have a practical purpose to stop germs from entering your body

How To Safely And Effectively Remove Nose Hair

Regardless of the technique you use, safety and effectiveness are the key factors you need to consider. But all this depends on how you prepare beforehand.

Blow Your Nose

It would help if you blew your nose to make sure the nose hair trimmer or nose hair laser effectively removes the hair. Blowing out your nose facilitates the removal of debris and accumulated mucous. 

Be Gentle When Trimming

The mucous membrane that covers the nostril is very sensitive. So, it would help if you were very careful and gentle. If you randomly insert the clippers or scissors and then start scraping around without proper alignment, you can injure your nose.

Ingrown Hair in Nose

Sometimes after trimming, you risk the chance of developing ingrown hair. This condition occurs when the hair shaft reenters and grows back into the nasal membrane. Possible signs of ingrown hair include:

  • Itching and pain
  • Skin redness
  • Tiny bumps – sometimes the bumps are pus-filled

Ingrown Nose Hair Treatment

To treat ingrown nose hair, use a warm washcloth to clean the skin. Then using your hand, massage the affected area in circular motions. If the condition doesn’t get better, then you need to seek clinical treatment.

nose hair trimming
No matter how much you want it to, nose hair will not magically disappear.
You do need to do something about it.

Dangers of Removing Nose Hair

People experiment by using other techniques to remove nose hair. The internal membrane of the nose is extremely sensitive, so you need to avoid:

Plucking the Hairs

Don’t be tempted to pluck your nose hair. You increase your chances of ending up with injuries and ingrown hair. Also, it hurts enough to make your eyes water!

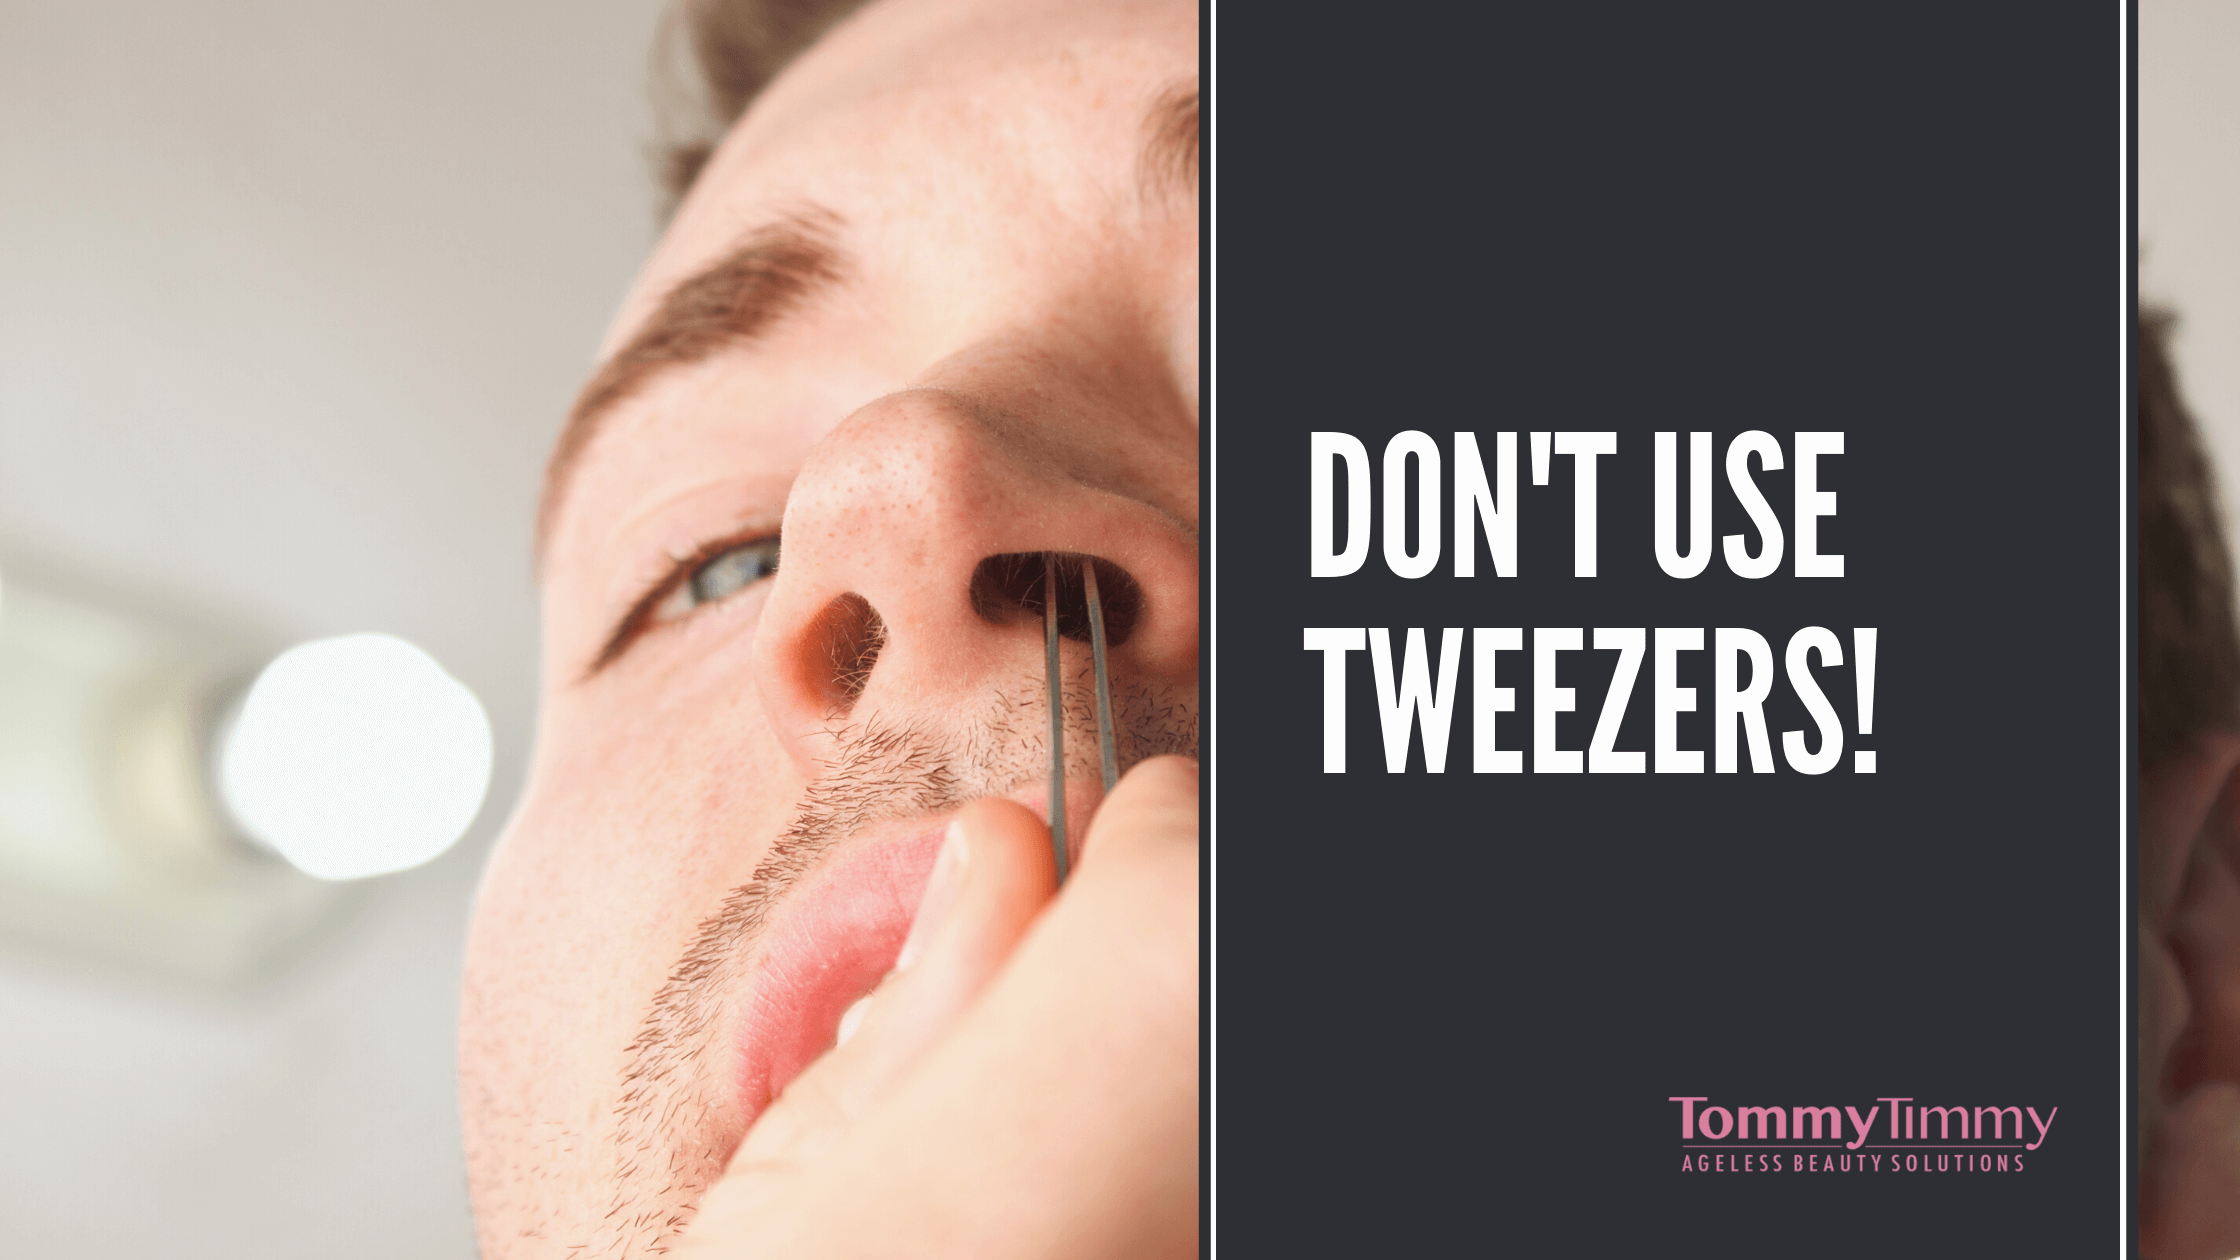
nose hair and tweezers
As tempting as it may be to pluck nose hair, you are strongly advised not to do it.
Apart from anything else, it hurts enough to make your eyes water!

Waxing Nose Hair

Instead of trimming, some people think using a Nose Hair Waxing Kit is a good idea because its results usually last longer. However, you risk hurting deep skin tissues.

Depilatory Creams

Depilatory creams such as Nair and Veet are not recommended for use in the nasal cavity. These hair removal creams are made with potent ingredients. So, applying the cream in your nostrils means that you risk inhaling toxic substances and affecting the health of your lungs.

Pointed Scissors

Some scissors have been specifically designed for removing nose hair. They have rounded ends to protect your sensitive skin membrane. Pointed scissors can cause injury, pain, or infections by puncturing the skin. Also, be careful when using surgical scissors to cut nose hair.

Organic Hair Removal Products

There are organic products that have been designed to facilitate the removal of nose hairs. But the nose has a delicate membrane. Hence you need to read the product label and instructions before using them as some products are not suitable for nasal hair removal.

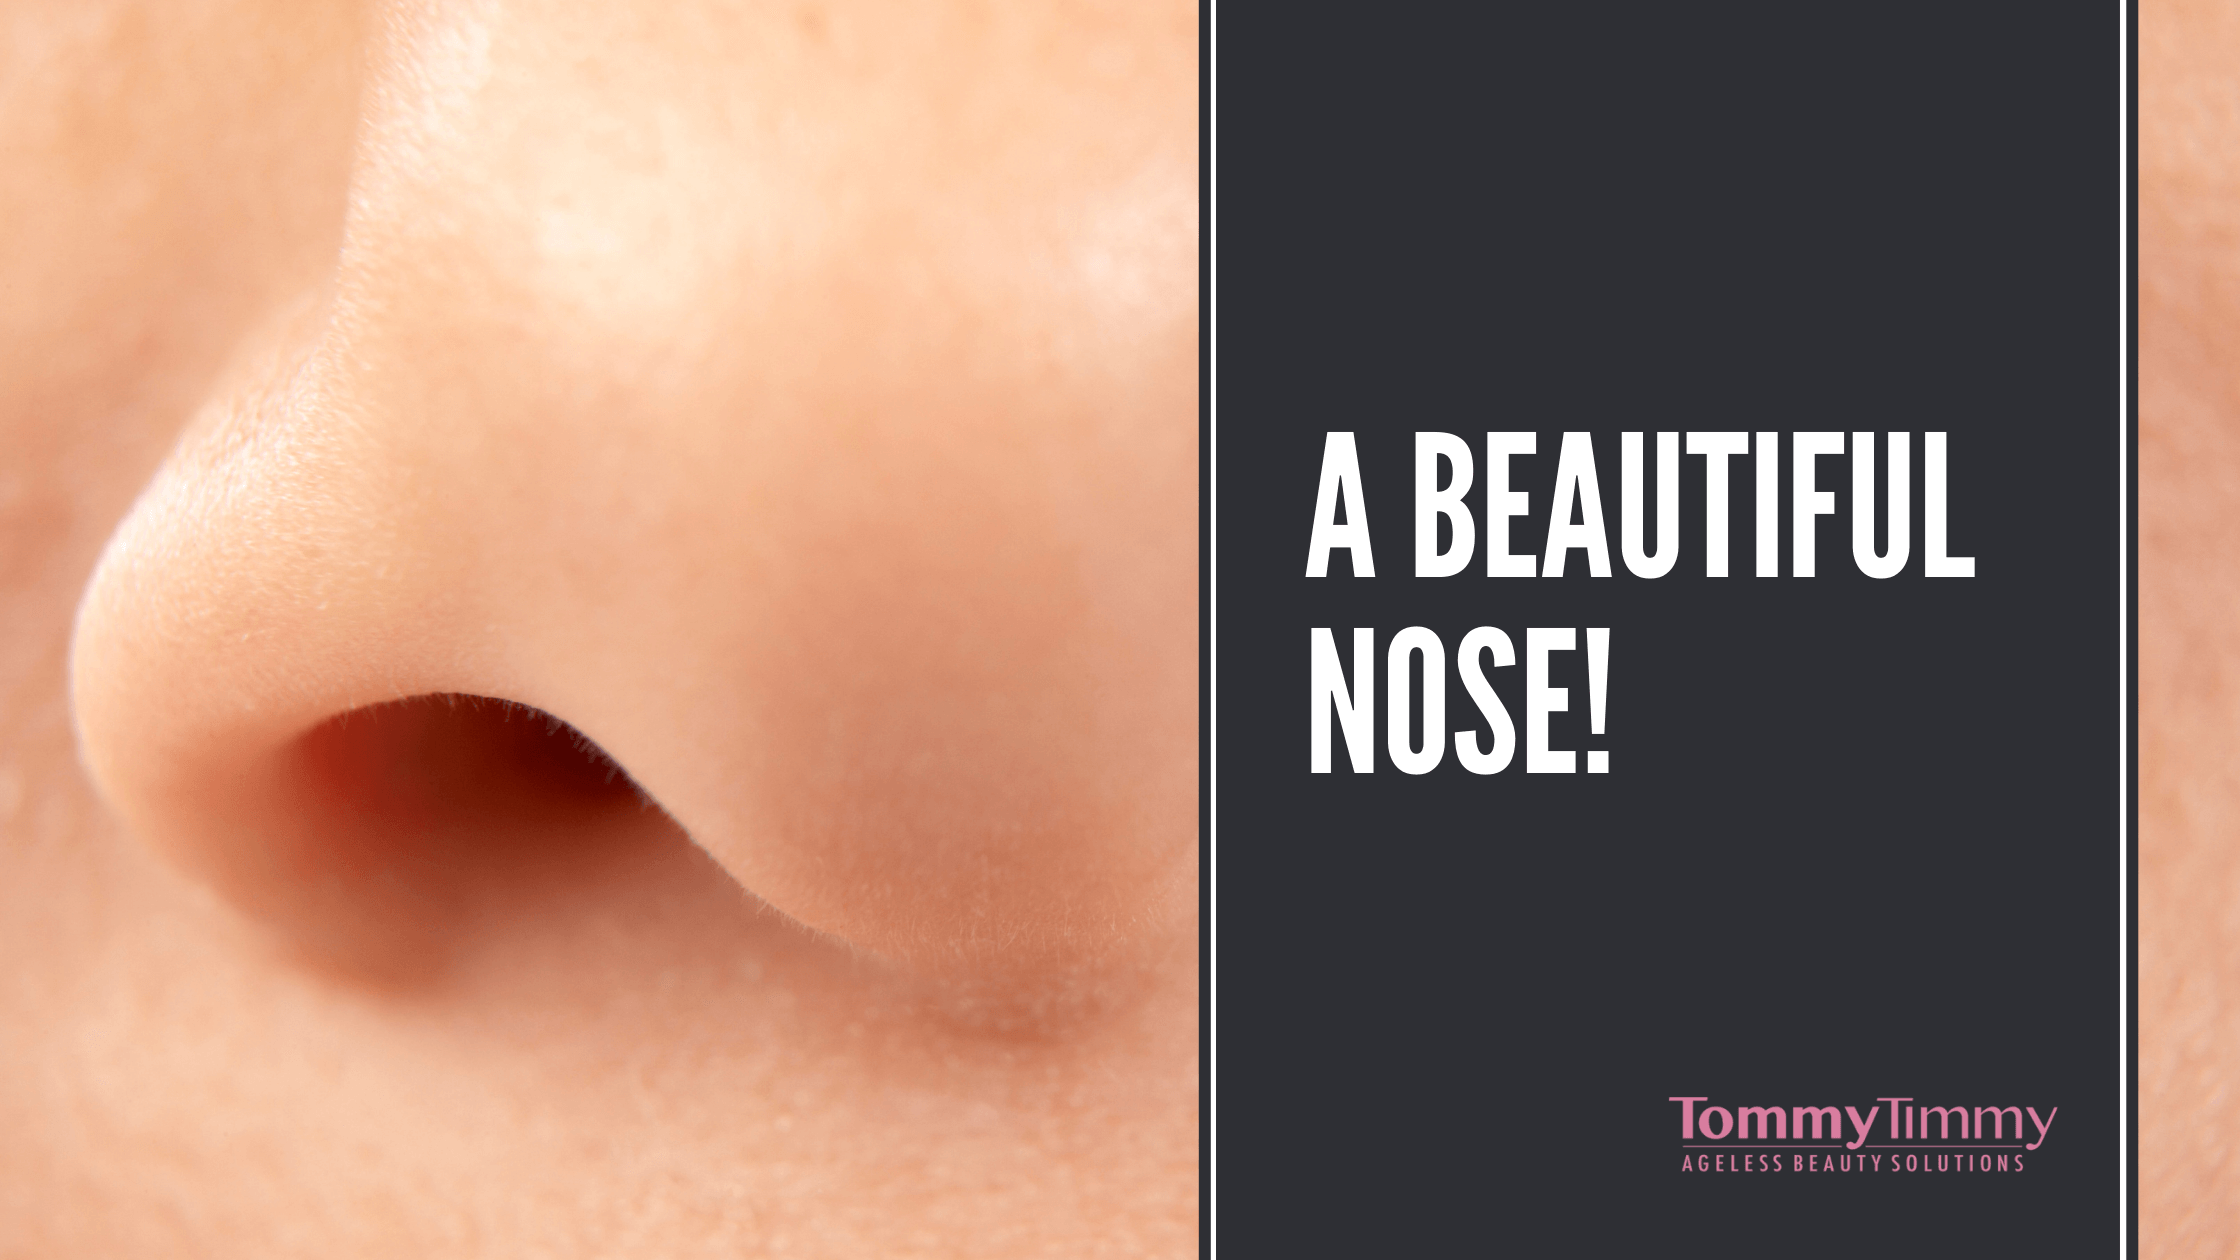
beautiful nose
Here is a beautiful nose that we can all aspire to!
However, if you look closely you will see that there are also little hairs on her nose.
After all, did you really want to see another photo looking up someone’s nasal passages?

What You Need To Know About Nose Hair Removal

Protruding nasal hair can make you feel uncomfortable and self-conscious. As you grow older, you will find that although you might be losing hair on your head, your nose hair starts to grow at a rapid rate. So, don’t feel guilty if you remove it.

However, the cons of removing nose hair are that it has protective properties. They are responsible for protecting dust particles and other forms of allergens from entering your lungs and interfering with your breathing.

If you remove too much nose hair, you are at risk of suffering from frequent respiratory allergies. So, if you are going to remove them, avoid methods that may damage the delicate membrane within your nose.

Pros of Nose Hair Trimmers

The safest option is trimmers because hair is not completely removed, and it will grow back. If you are going to use laser treatment, then consult with a certified medical practitioner.

Eyebrow Hair Removal

Getting rid of unwanted hair in your brows is a key to show up a precise and perfect brow shape that will help to stand out your eyes and complements your favorite facial features. There are several ways to remove eyebrow hair and the right one for you depends on your skin type and if you want a natural or defined look. Here’s a guide for you to know all about eyebrow hair removal.

Contents

Eyebrow Waxing

This is the most popular procedure. To get this procedure done you need to go to a salon with specialists who have extensive knowledge on how to achieve the best brow shape according to your facial features. Trying to wax your brows at home can end in a disaster and damage your brow shape permanently.

This procedure is performed by applying warm wax over the areas with undesired hair and removing it with paper strips. It pulls the hair from the root which provides a long-lasting result and hair will grow finer. This hair removal method is ideal for those who want a defined brow shape.

Benefits

  • It is the faster eyebrow hair removal method
  • The hair will take longer to grow
  • It can remove even the tiniest hair
  • No risk of ingrown hairs
  • Professional result

Considerations

  • It is not suitable for people with sensitive skin
  • You can develop an allergic reaction
  • Your skin will experience some redness after the procedure
  • If the wax is too hot it can burn your skin
  • Your skin will be more sensitive to the sun
  • Go to a qualified place otherwise, you can suffer undesired side effects and end up with a bad brow shape

Eyebrow Threading

Threading originated in Iran, India, and central Asia. This method involves using a thread that is held between the specialist’s hands and grabs the hair to pull it from the root. Unlike waxing, threading gives you full control over which hairs are removed and results in a more natural shape. It doesn’t pull the skin like waxing which makes it suitable for sensitive skin and doesn’t involve the use of heat or chemicals.

Benefits

  • It is a gentle eyebrow hair removal option
  • There is no risk of allergic reactions
  • Reduce the risk of irritation and redness
  • Provides a precise and more natural look
  • Long-lasting results
  • Removes even the shortest hair
  • Works on all skin types

Considerations

  • It tends to be more painful than waxing
  • The pores will be open after the procedure so avoid touching the area
  • Avoid direct sun exposure after the treatment
  • If you go to an unqualified place where proper hygiene rules aren’t followed you have the risk of suffering an infection
  • Avoid applying makeup for the next 24 hours
  • You may experience some redness
  • The specialist can nick or cut the skin while threading

Eyebrow Plucking

This is one of the few procedures that you can perform at home. It involves using tweezers to pluck individual hairs until you reach the desired brow shape. To successfully pluck your brow hairs, grab them from the base and pull the hair in the direction it grows. Pluck the brow hairs after going into the shower because the hair follicles will be open.

Benefits

  • It is the most affordable option
  • You can perform it at home
  • Control over the hairs that you will pluck
  • It doesn’t involve the use of chemicals and if you know how to use the tweezers it won’t harm your skin

Considerations

  • When it comes to eyebrow plucking, less is more. Avoid overplucking your eyebrows or you could end up with an undesired brow shape
  • Avoid using old pairs of tweezers
  • Apply aloe vera after plucking to prevent any redness
  • If you let your brows grow to much it will take a long time to reach the desired shape
  • Don’t use a magnifying mirror to avoid overplucking your brows
  • Avoid pinching your skin while plucking your eyebrows to avoid doing any harm to your skin
  • Outline the desired shape of your brow with a brow pencil and only pluck the hairs out of that line

Electric Trimmers

It feels like shaving your brows but a precise and fine trimmer that is specially designed for small areas like eyebrows or to get rid of peach fuzz. You can easily perform this at home. The best electric trimmers have a micro-blade technology that is able to remove the shortest hair.

Benefits

  • The procedure is fast and painless
  • It doesn’t irritate your skin
  • Easy to use and most electric trimmers are portable meaning that you can get rid of unwanted hair anywhere and anytime

Considerations

  • It doesn’t pull the hair from the roots so it will grow faster than with other hair removal methods
  • Not suitable for people with very thick hair

Electrolysis

Aka electrology, is a method to remove individual brow hairs. It works by destroying the growth center of the hair with heat or chemical energy. This is a treatment that needs to be performed at a professional place and you will need several sessions in order to get rid of undesired hair. It is a permanent hair removal method.

Benefits

  • You won’t need maintenance sessions
  • It is safe and doesn’t damage the skin
  • Provides a precise result
  • The technician has plenty of control over which hairs are going to be removed
  • No more need for other eyebrow hair removal methods

Considerations

  • May require several sessions to finish the treatment!
  • It is more expensive than other options
  • May cause pain and discomfort
  • If you go to an unqualified place you may end up with skin discoloration

Final Thoughts

Having the perfect brow shape isn’t hard if you know which hair removal method is best for your skin type and preferences. Before making a choice, consider the type of shape you want (natural or defined), your pain level tolerance and your budget. If you decide to get your eyebrows done, then you should visit a qualified salon to ensure you get the best results.

See our articles on Nasal and Ear hair removal

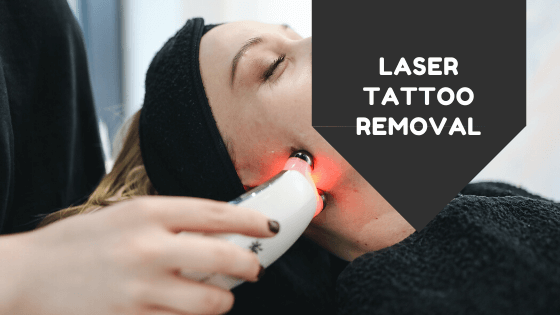
Laser Tattoo Removal. Does it work?

Contents

Want To Get Rid Of Unwanted Tattoos?

Laser tattoo removal is a medical procedure that aims at permanently removing unwanted tattoos. Laser tattoo removal utilizes skincare technology that facilitates permanent discoloration to fade the tattoo.

Utilizing this technology allows victims to have tattoos of different colors, shapes, and sizes removed. Compared to some creams that claim to remove tattoos, laser tattoo removal is one of the most reliable options and can promise some good results.

Be Clear With Your Expectations

Before going ahead with a tattoo removal procedure, you should know that laser tattoo removal is not fully guaranteed. You need to find a plastic surgeon who will help you come up with realistic goals and treatment expectations. In some cases, the tattoo can only clear partially and leave a faded appearance.

Depending on your skin type and other factors, you can even form marks that may look like a scar. Therefore, you should contact the best cosmetic surgeon to minimize the risks of having adverse side effects.

Woman showing fading tattoo
Closeup of a woman before and after laser treatment. Different tattoos will fade at different rates.

How Does Tattoo Laser Treatment Work?

Laser tattoo removal is now becoming a common procedure and the ideal solution to individuals who want to remove their tattoos permanently.

Before considering the treatment you should get a better understanding of how the treatment works, and the benefits and risks involved.

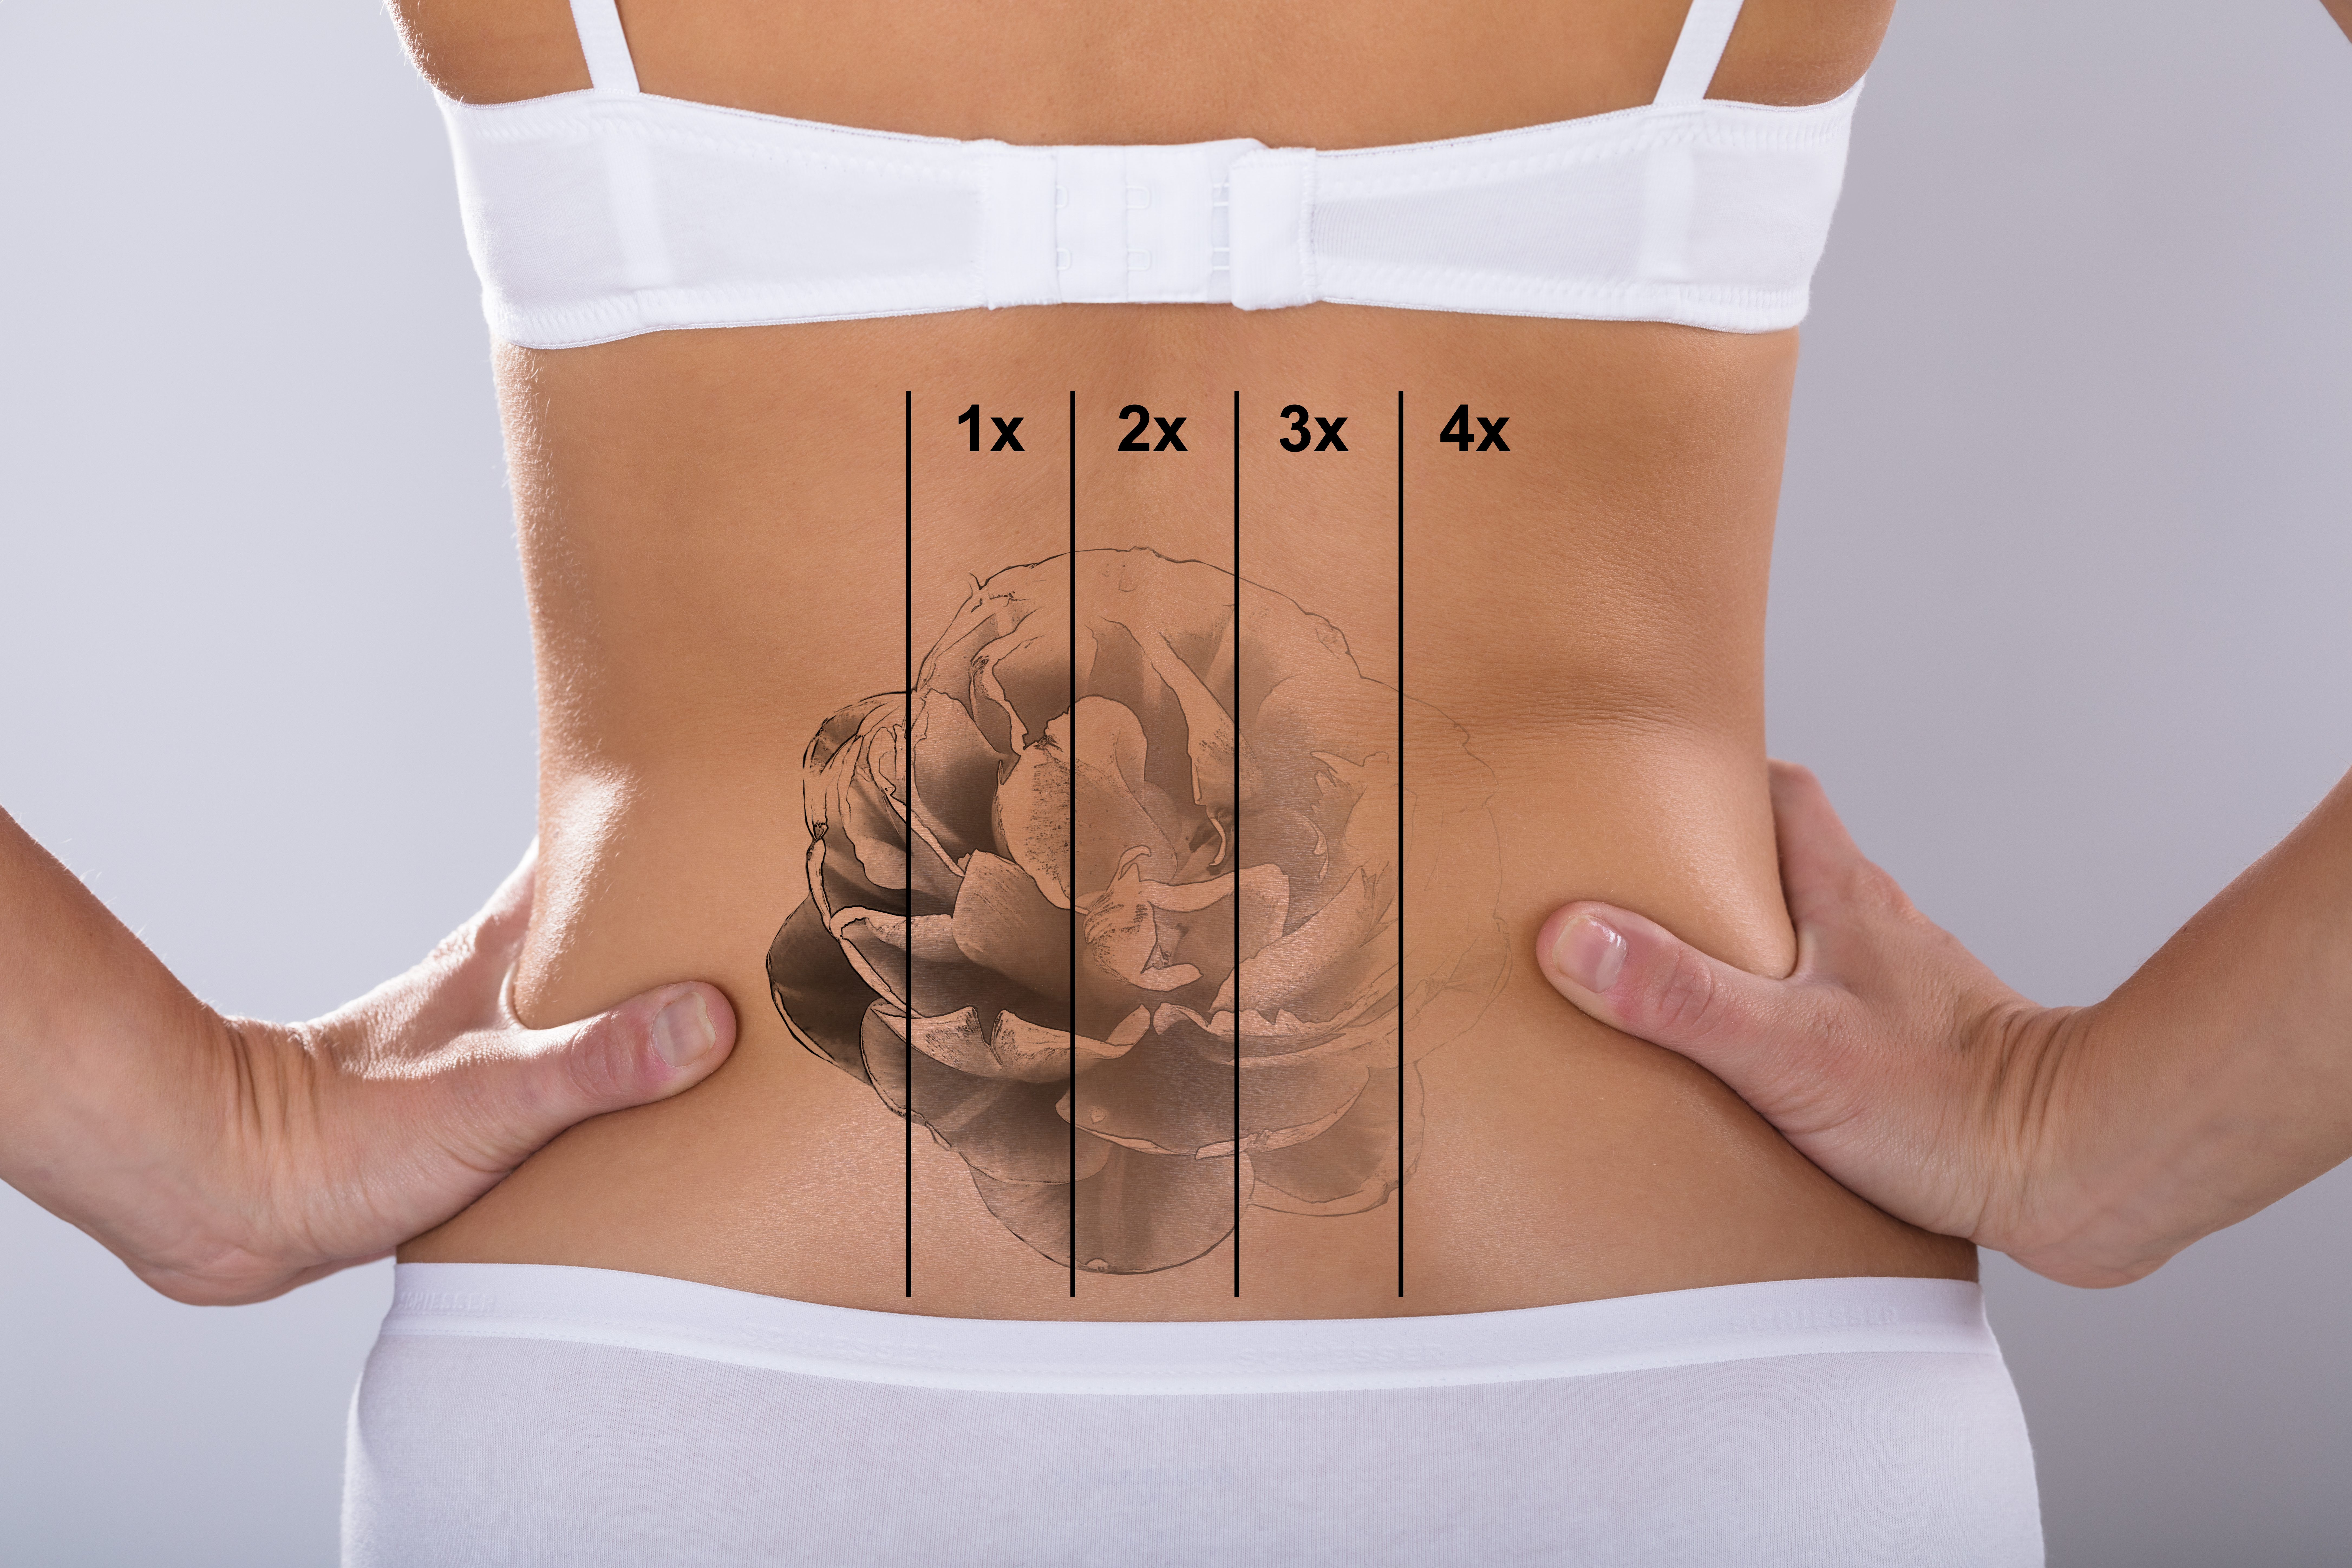
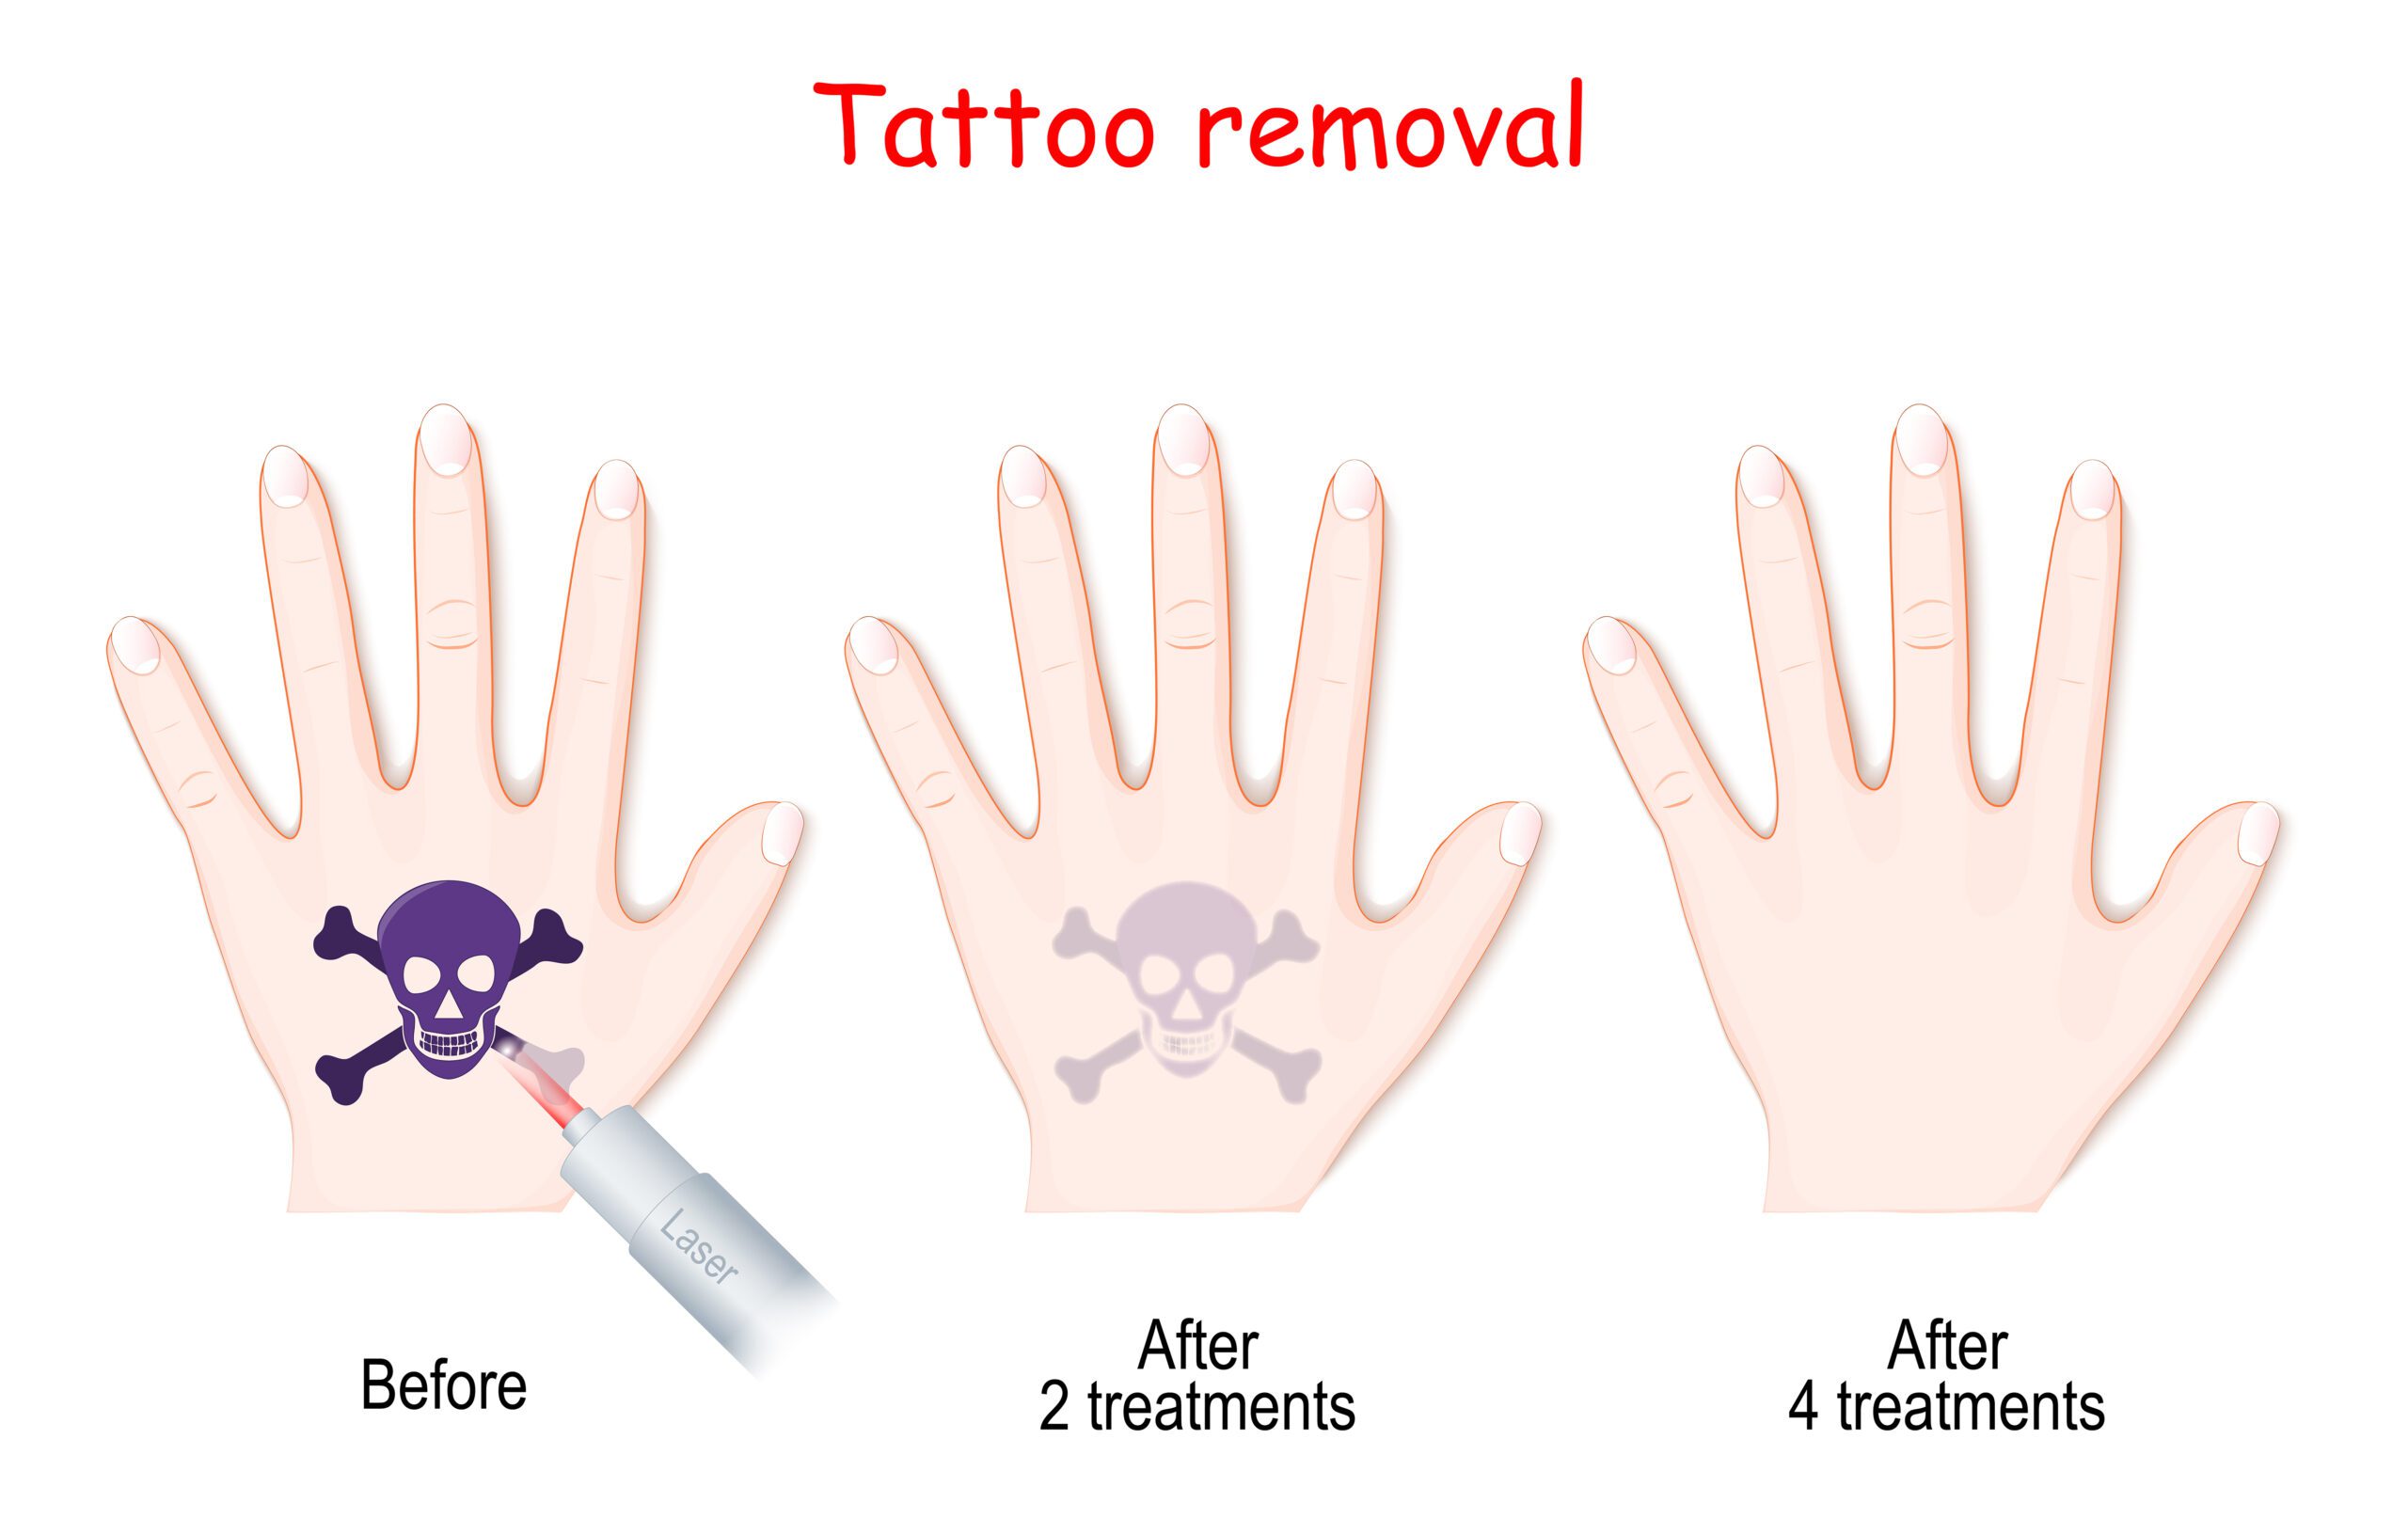
Laser treatments could typically take two to four sessions to achieve quality results. In some situations, tailored treatment plans may be required to eliminate the tattoo.

A cosmetic surgeon determines the number of laser treatments required based on the tattoo’s size, pigmentation, and position.

What is the technology involved?

The treatment uses light pulses from a laser to break any kind of pigmentation under your skin. If the color pigmentation disintegrates, the tattoo begins to fade and a repeat of the procedure ensures that the tattoo is no longer visible.

Doctors use different lasers for different pigment colors and different skin types.

Dark colors such as black and brown respond better to treatments, while lighter colors may take a little longer to completely discard the pigment.

Which Tattoos Respond Best To Laser Removal?

Most tattoos can be removed using the laser treatment option. An older tattoo has settled over a long time period which might make the process easier.

Over the past decade, the inks that have been used are much stronger, making the removal process somewhat more difficult. Regardless of when the tattoo was done, some colors are easier to remove than others.

Shades of red and yellow are more difficult to remove and may require more treatment sessions than tattoos with dark colors. A multi-colored tattoo requires multiple treatment sessions because different ink colors respond to different laser wavelengths.

Another problem to consider is the position of the tattoo on the body. Areas with more body fat, such as arms, buttocks, legs, or chest, will give better results compared to areas with less body fat, such as ankles or fingers.

woman's back with fading tattoo.
Discomfort of tattoo removal will often depend on the location of the tattoo and your pain threshold.

Find A Good Laser Tattoo Removal Clinic.

Be careful when choosing a clinic to perform the laser tattoo removal procedure. You should never compromise when it comes to quality. If the procedure is performed by incompetent practitioners with little or no experience, you may be at risk of contracting serious skin infections and diseases.

We recommend that you seek multiple examinations from qualified professionals. In that way, you will have the chance to work with a team that has adequate experience and skills to perform the tattoo removal procedure.

It is also important to pay attention to the level of cleanliness and hygiene in the clinic.

Make sure that the clinic you select maintains a high level of cleanliness and that the devices are in perfect condition.

Another factor you need to consider is the clinic’s legitimacy, registration, and licensing. Also, make sure that they have the necessary permits to work as a clinic that offers services such as laser tattoo removal.

It is recommended that you obtain a recommendation from the local medical association regarding the quality of the services provided by the various clinics in your area of jurisdiction.

The Risks & Costs Involved

The total cost of removing tattoos through laser treatment can be very high. If your budget is tight, this option may not be within your reach.

The total cost may range between $ 300 and $ 600 per session. All tattoos require multiple treatment sessions to achieve quality results. Therefore, you may have to look for financing options that can help you get the cosmetic procedure done.

The first downside of this procedure is pain. Some people may suffer more than others, but it depends on some factors.

Some claim the removal procedure is more painful than the actual tattoo application procedure. Others report that it hurts less. However, the cosmetic surgeon who performs the removal procedure can minimize the pain by administering a topical anesthetic before the treatment.

hand fades.
When you have a laser treatment to remove a tattoo, it will take several sessions for it to fade and hopefully disappear.

You must be prepared to endure a certain level of pain during the procedure and the healing process.

Lastly, you must be aware of the possibility of scarring after the procedure.

You need to practice proper aftercare to minimize scarring, but there is no guarantee that it won’t happen.

The next risk associated with this method is hyper-pigmentation or hypo-pigmentation, which might happen in the treatment area and tends to become lighter or darker after it has healed completely.

Veet Hair Removal

There are several ways to remove your hair. Some are permanent like laser which requires several sessions and trips to a qualified practitioner (which means you need to spend some cash), but it is permanent. Others are semi-permanent like shaving but you are prone to irritation and it isn’t suitable for sensitive skin. If you have already taken the choice of getting rid of your body hair we are going to talk about a brand that almost everyone knows: Veet. This brand specializes in different hair removal products and promises to get rid of undesired hair while keeping your skin smooth. We are going to talk about each product the brand offers and which is more suitable for you.

Contents

Veet Hair Removal Cream

This is by far one of the most popular products from the brand. It is a cream that contains chemicals able to break the structure of the hair. The application process is pretty easy. This cream work for several areas:

  • Armpits
  • Arms
  • Abdomen
  • Bikini zone
  • Legs
  • Any area where the razor can’t reach

Just apply the cream over the desired area, wait for 3 to 6 minutes and rinse with water. This cream works due to two ingredients: potassium hydroxide and potassium thioglycolate which help to break disulfide bonds of keratin molecules and reduces the strength of hair.

Benefits

  • No need for salon appointments
  • Painless
  • It contains nourishing ingredients like aloe Vera, shea butter or vitamin E to keep your skin soft and smooth
  • Long-lasting results
  • Works of short and thick hair

Considerations

  • There are different types of Veet hair removal cream that work for normal or sensitive skin
  • The time you need to leave the cream varies on the thickness of your hair
  • Exfoliate the skin 24 hours before applying the cream
  • Wash your skin with water before applying the cream. It will open up the pores and the hair will be removed easier
  • Test the product in a small area before applying the cream to make sure there are not going to be bad reactions
  • Do not exceed the 10 minute application time
  • Don’t apply over skin with sunburns, breakouts, or irritation
  • Do not expose your skin to the sun after using the cream
  • Don’t use this cream to remove facial hair

Veet Cold Wax Strips

To achieve depilation with more precision waxing is the best choice. But to do this you don’t need to schedule a salon appointment, you can easily do it at home with the Veet cold wax strips. There are several methods of waxing and cold waxing is one of the safest and most effective to get rid of stubborn hair. Hot wax is another popular option but it isn’t easy to apply it at home and if the wax is too hot it can burn the skin.

The cold wax is pre-applied to pulling strips that are able to remove the hair quickly and easily. The strips have nourishing ingredients that will leave your skin smooth and soft.

To use it prepare your skin first. Exfoliate your body so the strips can adhere easily. Press the strips on dried skin down in the direction of hair growth. Pull the strip in the opposite direction of hair growth. Repeat until all the hair is removed and clean off the excess wax.

Benefits

  • You get rid of hair fast unlike the hair removal cream which you need to leave on for certain minutes
  • It is less painful than warm waxing
  • Comfortable to use and less messy than warm wax because you can dispose of the strips easily
  • It is able to pull out hair as short as 1.5 mm
  • You can use it in hard-to-reach areas
  • Pulls the hair from the root so it takes longer to grow back

Considerations

  • To get rid of facial hair use the cold wax face strips
  • They work for different skin types
  • Avoid exposing the skin to the sun after waxing
  • Don’t use it on the vagina, back, or chest
  • You can cut the strips to reach small areas
  • Do not apply to irritated skin
  • Your skin needs to be dry before applying the wax
  • Do not use the wax strips for more than two times

Veet in Shower Cream

This product is similar to the hair removal cream but with the difference that you will use it on the shower. This cream contains chemicals that are able to dissolve the keratin and make it weak to help you get rid of hair easily. It is formulated with water-resistant ingredients so they can stay in your skin while you are on the shower.

The application process is simple and you don’t need to make time for depilation because you can easily do it while taking a shower. Apply a thick layer of the product to the skin with the soft side of the sponge that comes with the product. Leave the product for 6 or 10 minutes if you have sensitive skin. Avoid exposing your skin directly to water during that time. Use the rough side of the sponge to remove the product and unwanted hair. Rinse with water to get rid of excess product.

Benefits

  • Get rid of the hair with no effort
  • It contains nourishing ingredients that prevent irritation and leave your skin smooth
  • Gets rid of short and thick hair
  • The fastest way to remove hair
  • It is comfortable

Considerations

  • Always try a patch test before using the product to make sure there won’t be any allergic reactions
  • Do not expose your skin to the sun after using the product
  • After removing the product avoid rubbing the skin with the towel. Use soft movements to prevent irritation

Final Thoughts

According to your skin type, lifestyle, and preferences you can choose this product that is more suitable for what you need. No matter which one you choose, Veet hair removal products are an effective way to easily get rid of unwanted hair while keeping your skin healthy and preventing irritations.
For a complete list of Veet Hair Removal Products visit the official Veet website

To learn more about Nair (Veet’s competition), read our article here