How To Remove Skin Tags
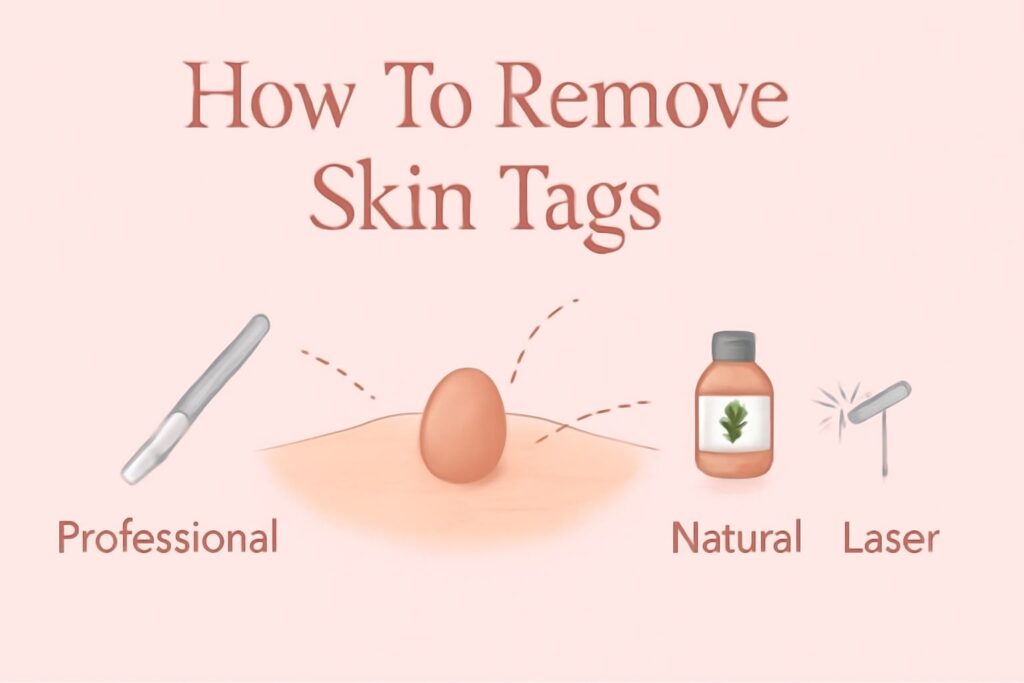
The small bumps that we usually see in our body, especially when they protrude in the shape of a stem are known as skin tags, they can appear anywhere on the body and at any age. • What are skin tags? Skin tags or skin tags are small growths on the…